
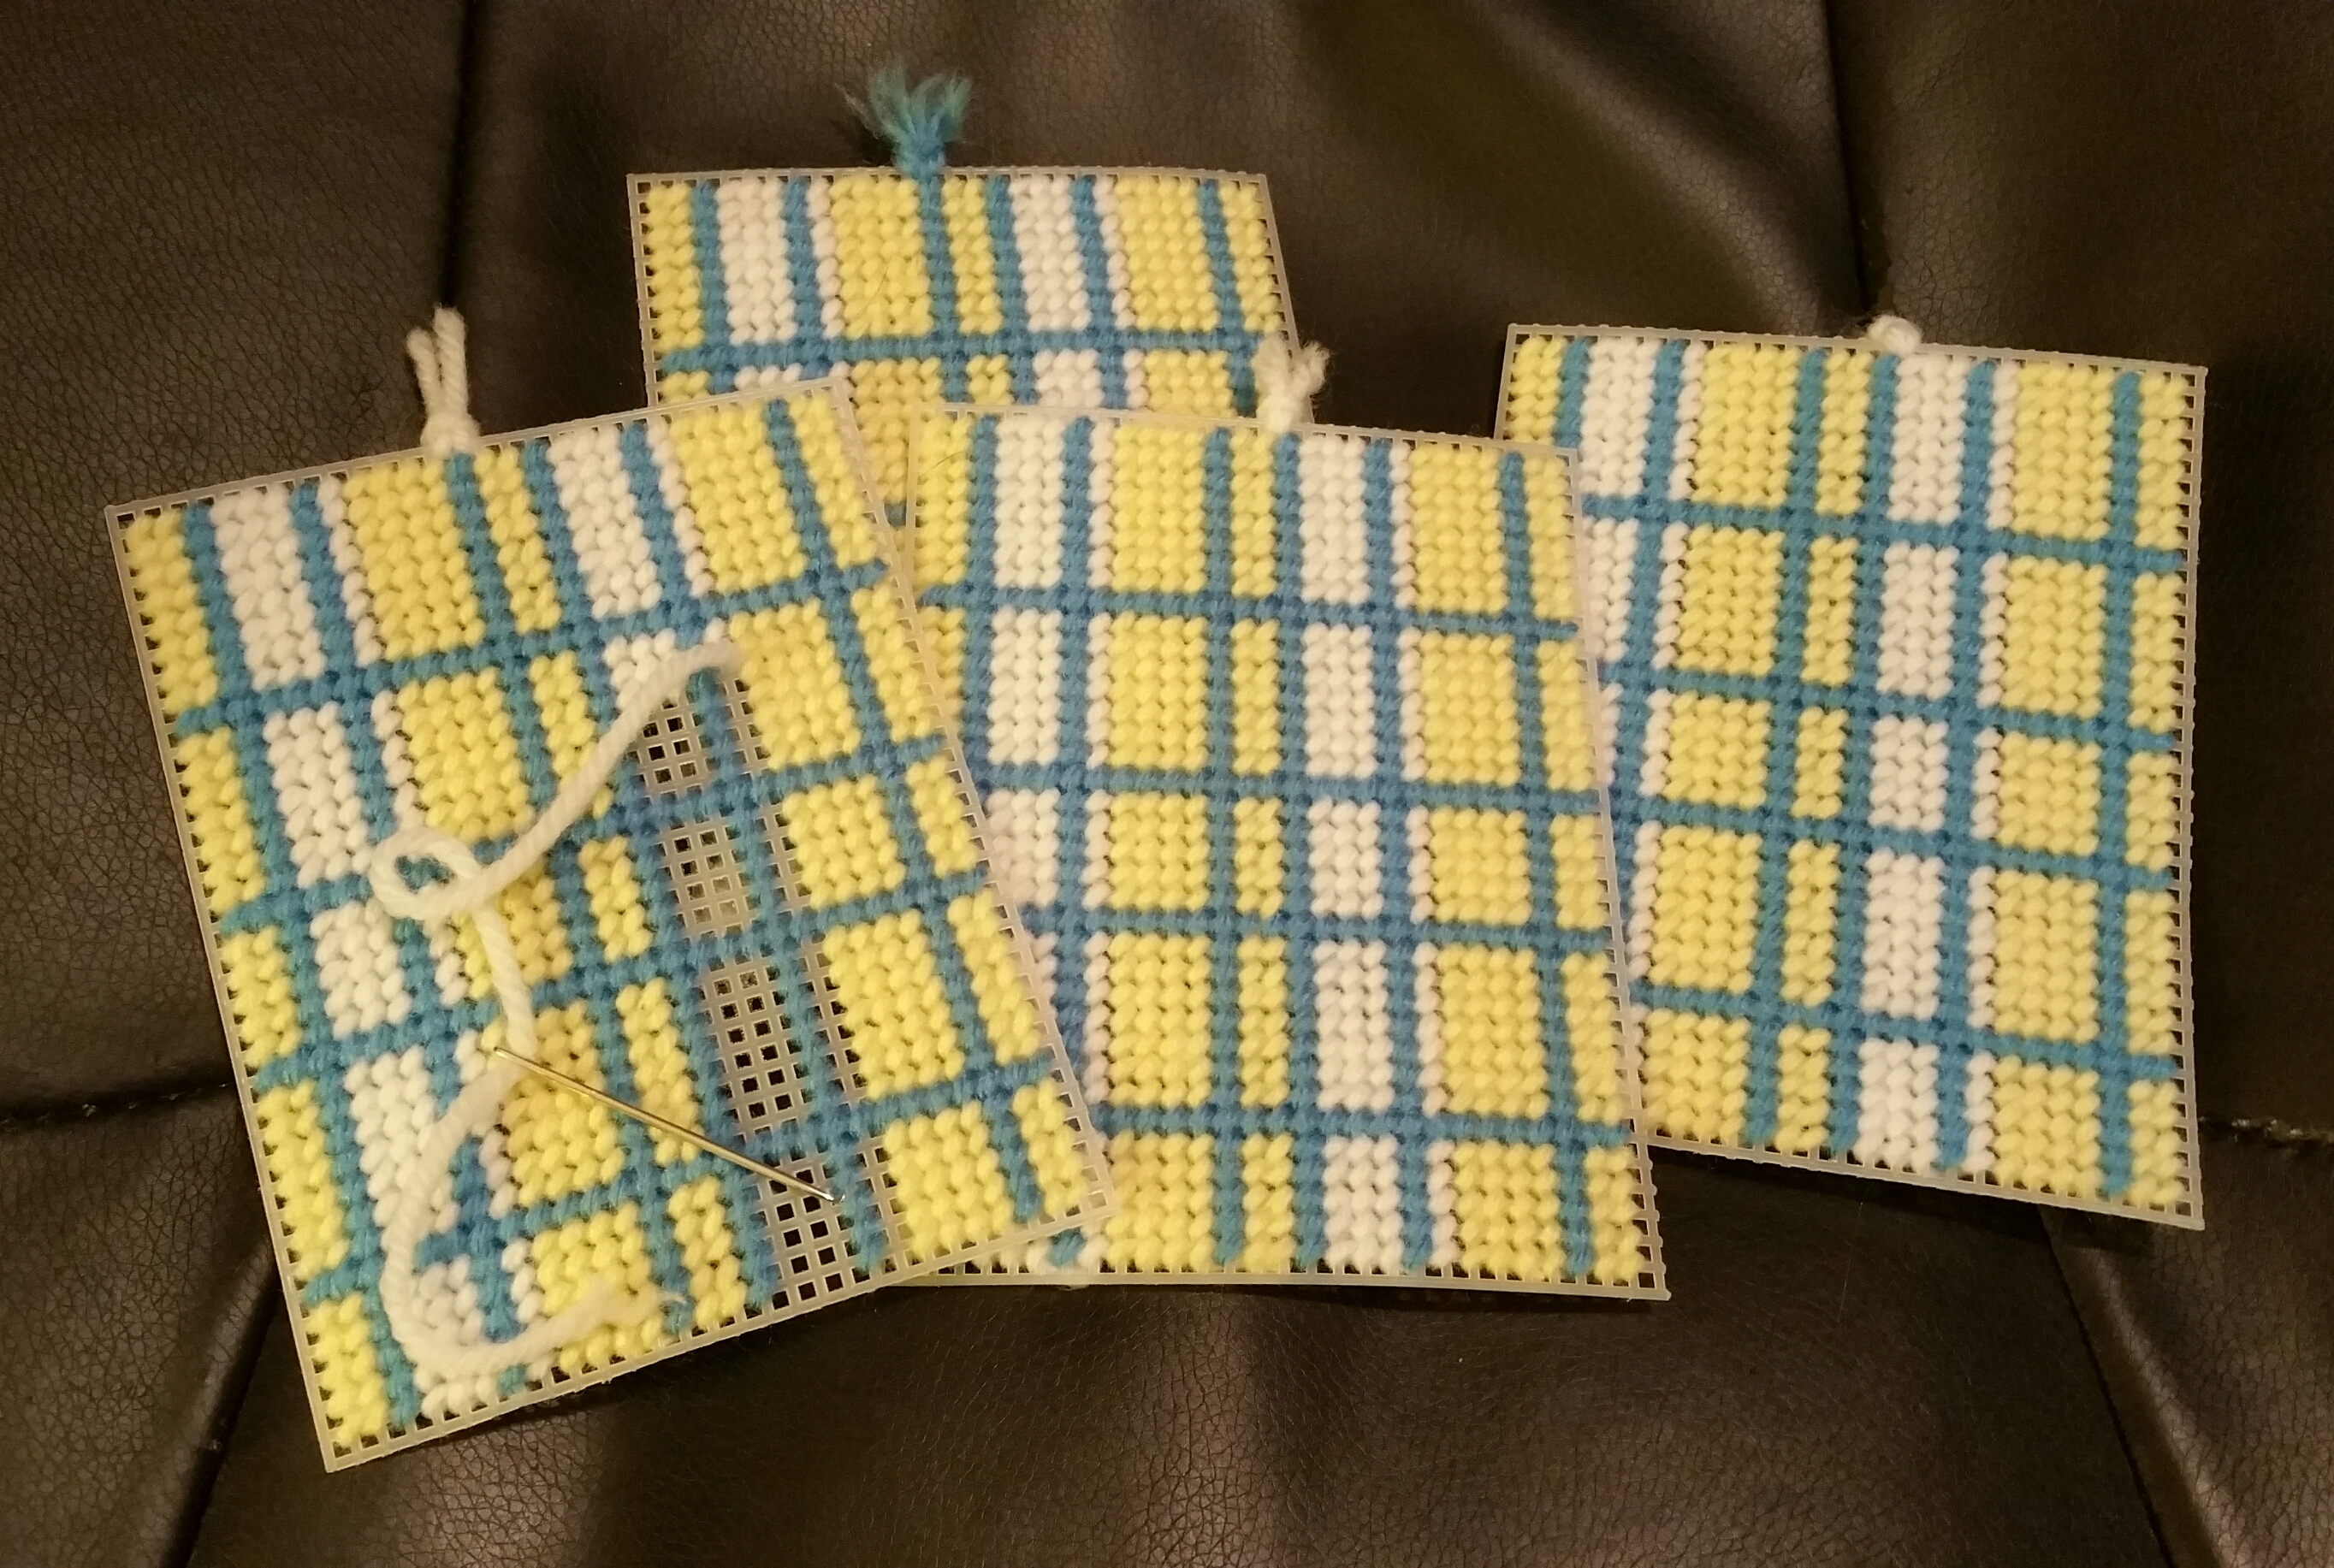
A very simple pattern for a plastic canvas needlepoint tissue box cover.

A tip when working on any needlework project, learned through getting lost on my project, is to mark the top before you start stitching.
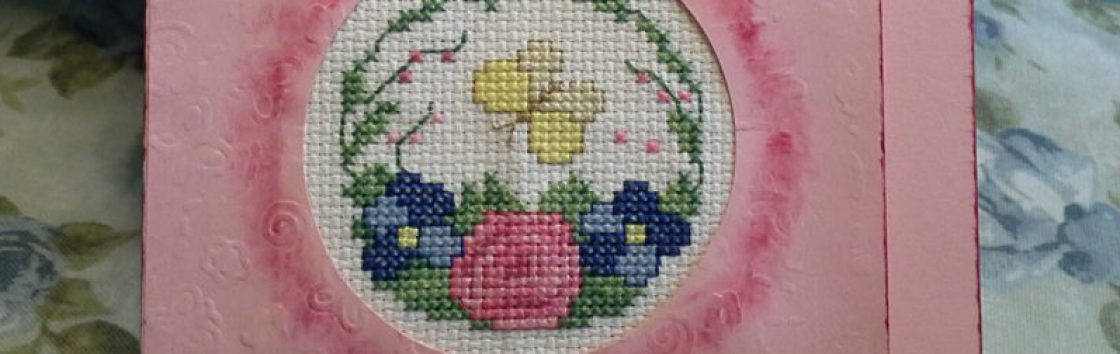
Counted cross stitch patterns start in the center, but often before you have stitched enough to clearly see the design, it’s easy to get lost and not be able to tell top from bottom. If you use an embroidery hoop (here’s another tip), do NOT leave your work in the hoop for days on end. That bad practice, which I admit I have done sometimes, can leave crease marks that are difficult to iron out, even with several washings and pressings. It can also lead to dirt marks around the edge.
Here are a few more tips – always wash your hands before stitching. Keep your work protected in a ziploc bag when not working on it. Develop a habit of clipping loose floss or yarn on the back of your work, as you stitch. Keeping the back of your work tidy leads to a nicer finished work. Tangles and knots on the back can cause unsightly lumps on the front, especially when framing counted cross stitch.
When doing counted cross stitch, I use a piece of red embroidery floss and stitch a large X at the top center of the counted cross stitch fabric. A small safety pin at the top center on Aida cloth works too. When stitching plastic canvas projects, I loosely tie a small piece of yarn on the top of each piece. I remove the floss when I am completed stitching the counted cross stitch piece. With plastic canvas projects that are several pieces, I leave the little yarn “top” markers in until I am ready to assemble those pieces.
