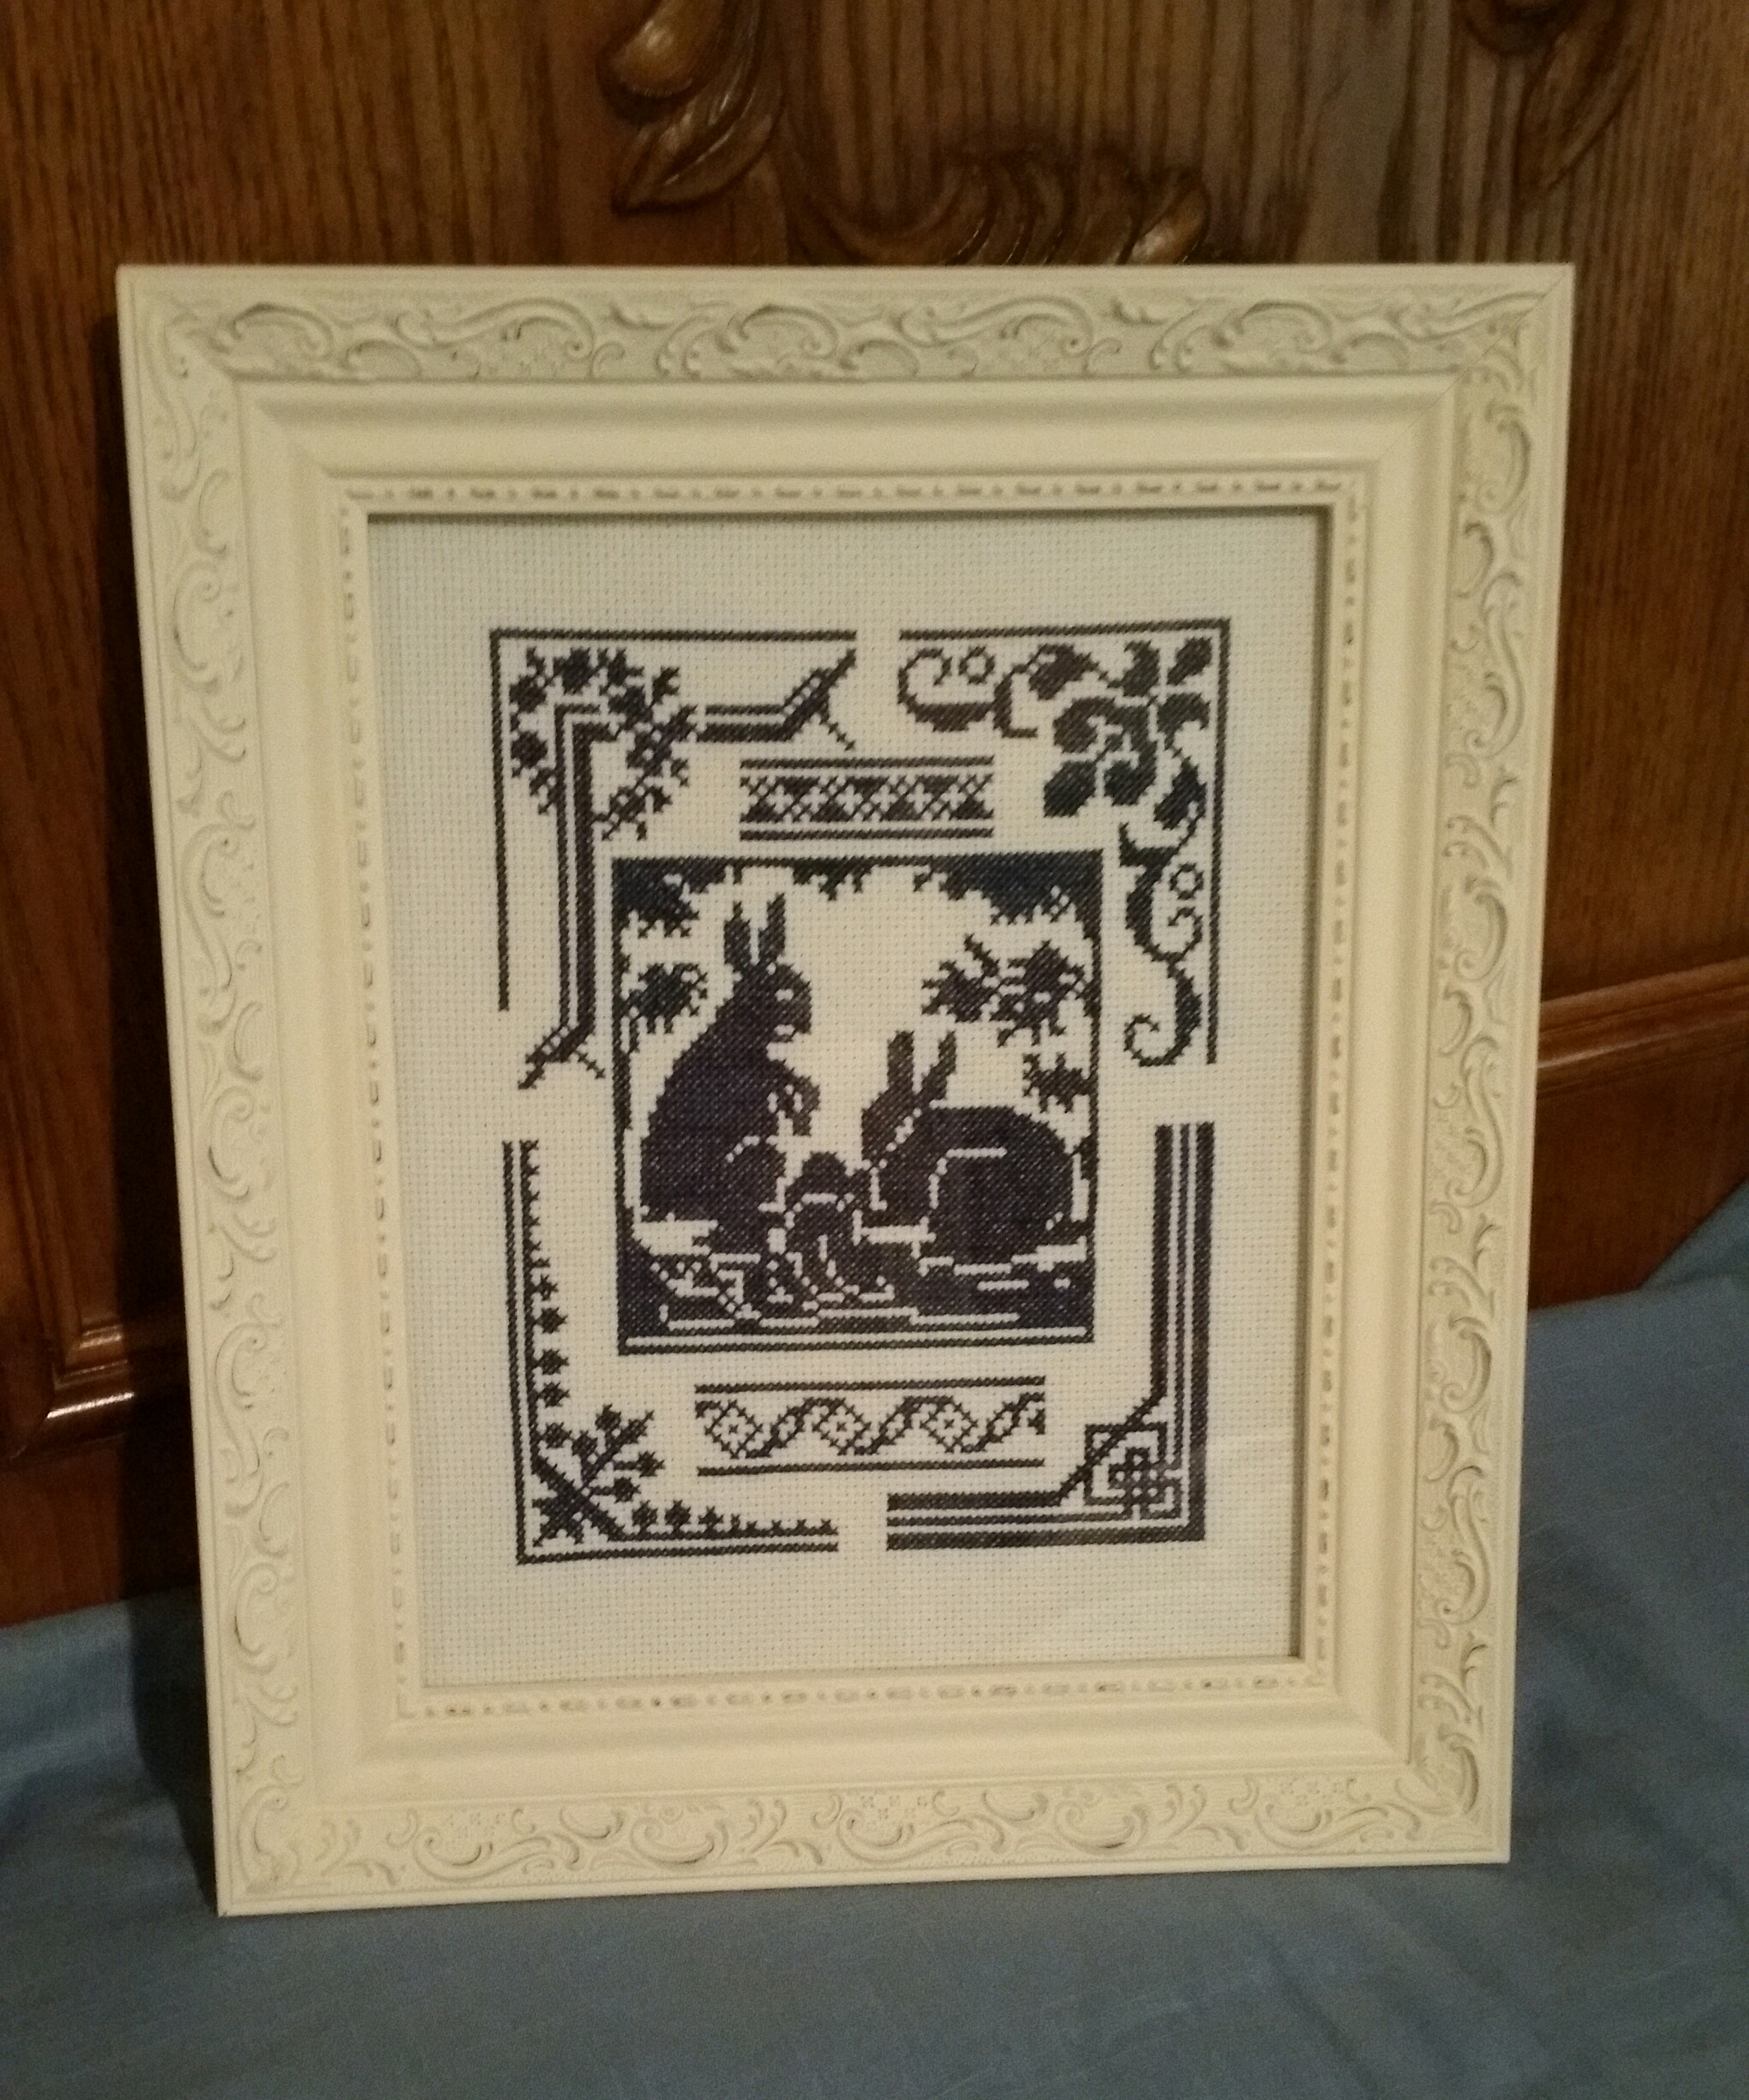
Stitched this cute bunny pattern last week and added a dragonfly and ladybug charm. Hopefully, it will be a little pillow of flat-fold by tomorrow. I made a slight change to the border pattern by using blue, green and the peachy-pink color on the corners and I used a black French knot for the bunny’s eye. The pattern is a free pattern from the Snowflake Diaries: http://thesnowflowerdiaries.blogspot.com/2014/03/tulipes-avec-le-lapin.html
Little pillow for one of my granddaughters. I read Vonna Pfeiffer’s finishing tutorial, but didn’t execute it as well as I would like. I need a lot more practice. Vonna’s instructions are clear and excellent, but I improvised and screwed up there. I used felt instead of interfacing, because I found white felt in my sewing room before I located interfacing. That led to bulky seams. On the plus side I used some frilly yarn to make my own trim for around the pillow and some sparkly yarn from some packs of yarn “bon bons” I purchased a year or so ago to make the hanger and tassel.
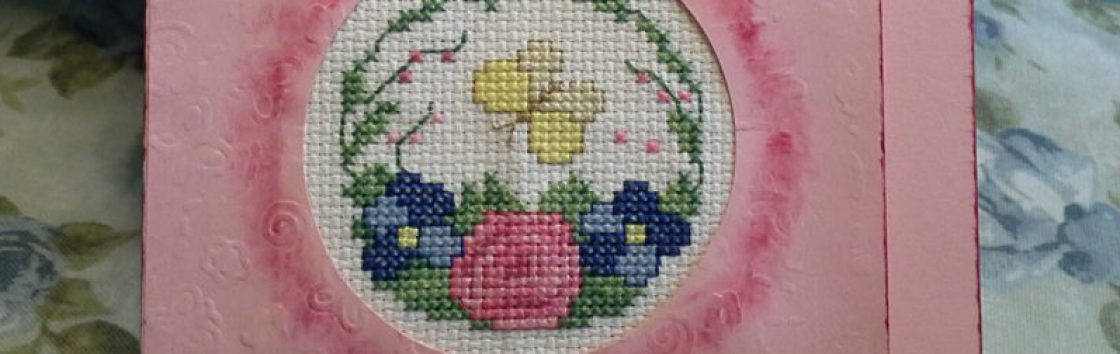
The design is by Kooler Design Studio and it came as a complete kit, with white 14-count Aida fabric, floss, and needle. It is an artiste mini brand at my local Hobby Lobby.
In my last post I mentioned that the internet has opened up an entire new world and as someone who grew-up in the 60s and 70s, all those differences strike me so often. I see it in how my grandchildren relate to their electronic devices and computer technology. With crafting and needlework, beyond the ease of shopping for supplies online, there’s a vast universe of information on websites and social media.
Lately I’ve been watching a lot of needlework videos on YouTube, so I’d like to share some videos, I have found interesting and provide a little information on them. First up, Lindsay Weirich,thefrugalcrafter, who has hundreds upon hundreds of crafting tutorial videos on many artistic endeavors, to include, crafting, painting, needlework, scrapbooking rubber-stamping, and lots more. A common dilemma for many needleworkers is framing your work, especially if custom-framing isn’t in your budget. Lindsay takes you through how to properly stretch and mount needlework like a pro. The thing I like about her videos is below her videos she lists all the supplies you will need and directions, so you don’ have to keep pausing the video to jot down notes:
I’ve been watching a lot of embroidery videos from all over the world and the thing I realized is that even the ones in foreign languages or with no speaking are easy to follow along if you know some basic embroidery. One of my favorite needleworkers on YouTube is Shagufta Fyms. I am not sure where she is from exactly and a commenter on one video said the language she is speaking is Urdu, but she does mix in some English words here and there too. I can follow her videos with no problems and her embroidery is amazing:
I came across a British lady, Sarah Homfray, who has excellent videos of embroidery basics, plus a website:
The last thing I want to mention is “floss tube” on You Tube, which is a large counted cross-stitch community, where stitchers post videos about their counted cross-stitch. The videos vary in quality and length, but you can learn a lot watching many of these. I fast forward through some of the more long-winded ones, but here are few of my favorite floss tube stitchers so far:
Elizabeth Andrus makes the most adorable Christmas ornaments:
Vonna Pfeiffer offers tons of good ideas and stitching advice:
Mary Rose provides fascinating history lessons along with her needlework expertise. This one is about heroine, Violette Szabo, a WWII British spy:
I plan to watch many more floss tube videos and become familiar with the stitchers.
Oh, I almost forgot about, Charisma’s Corner, has video on her wool penny embroidery project, which is really lovely:
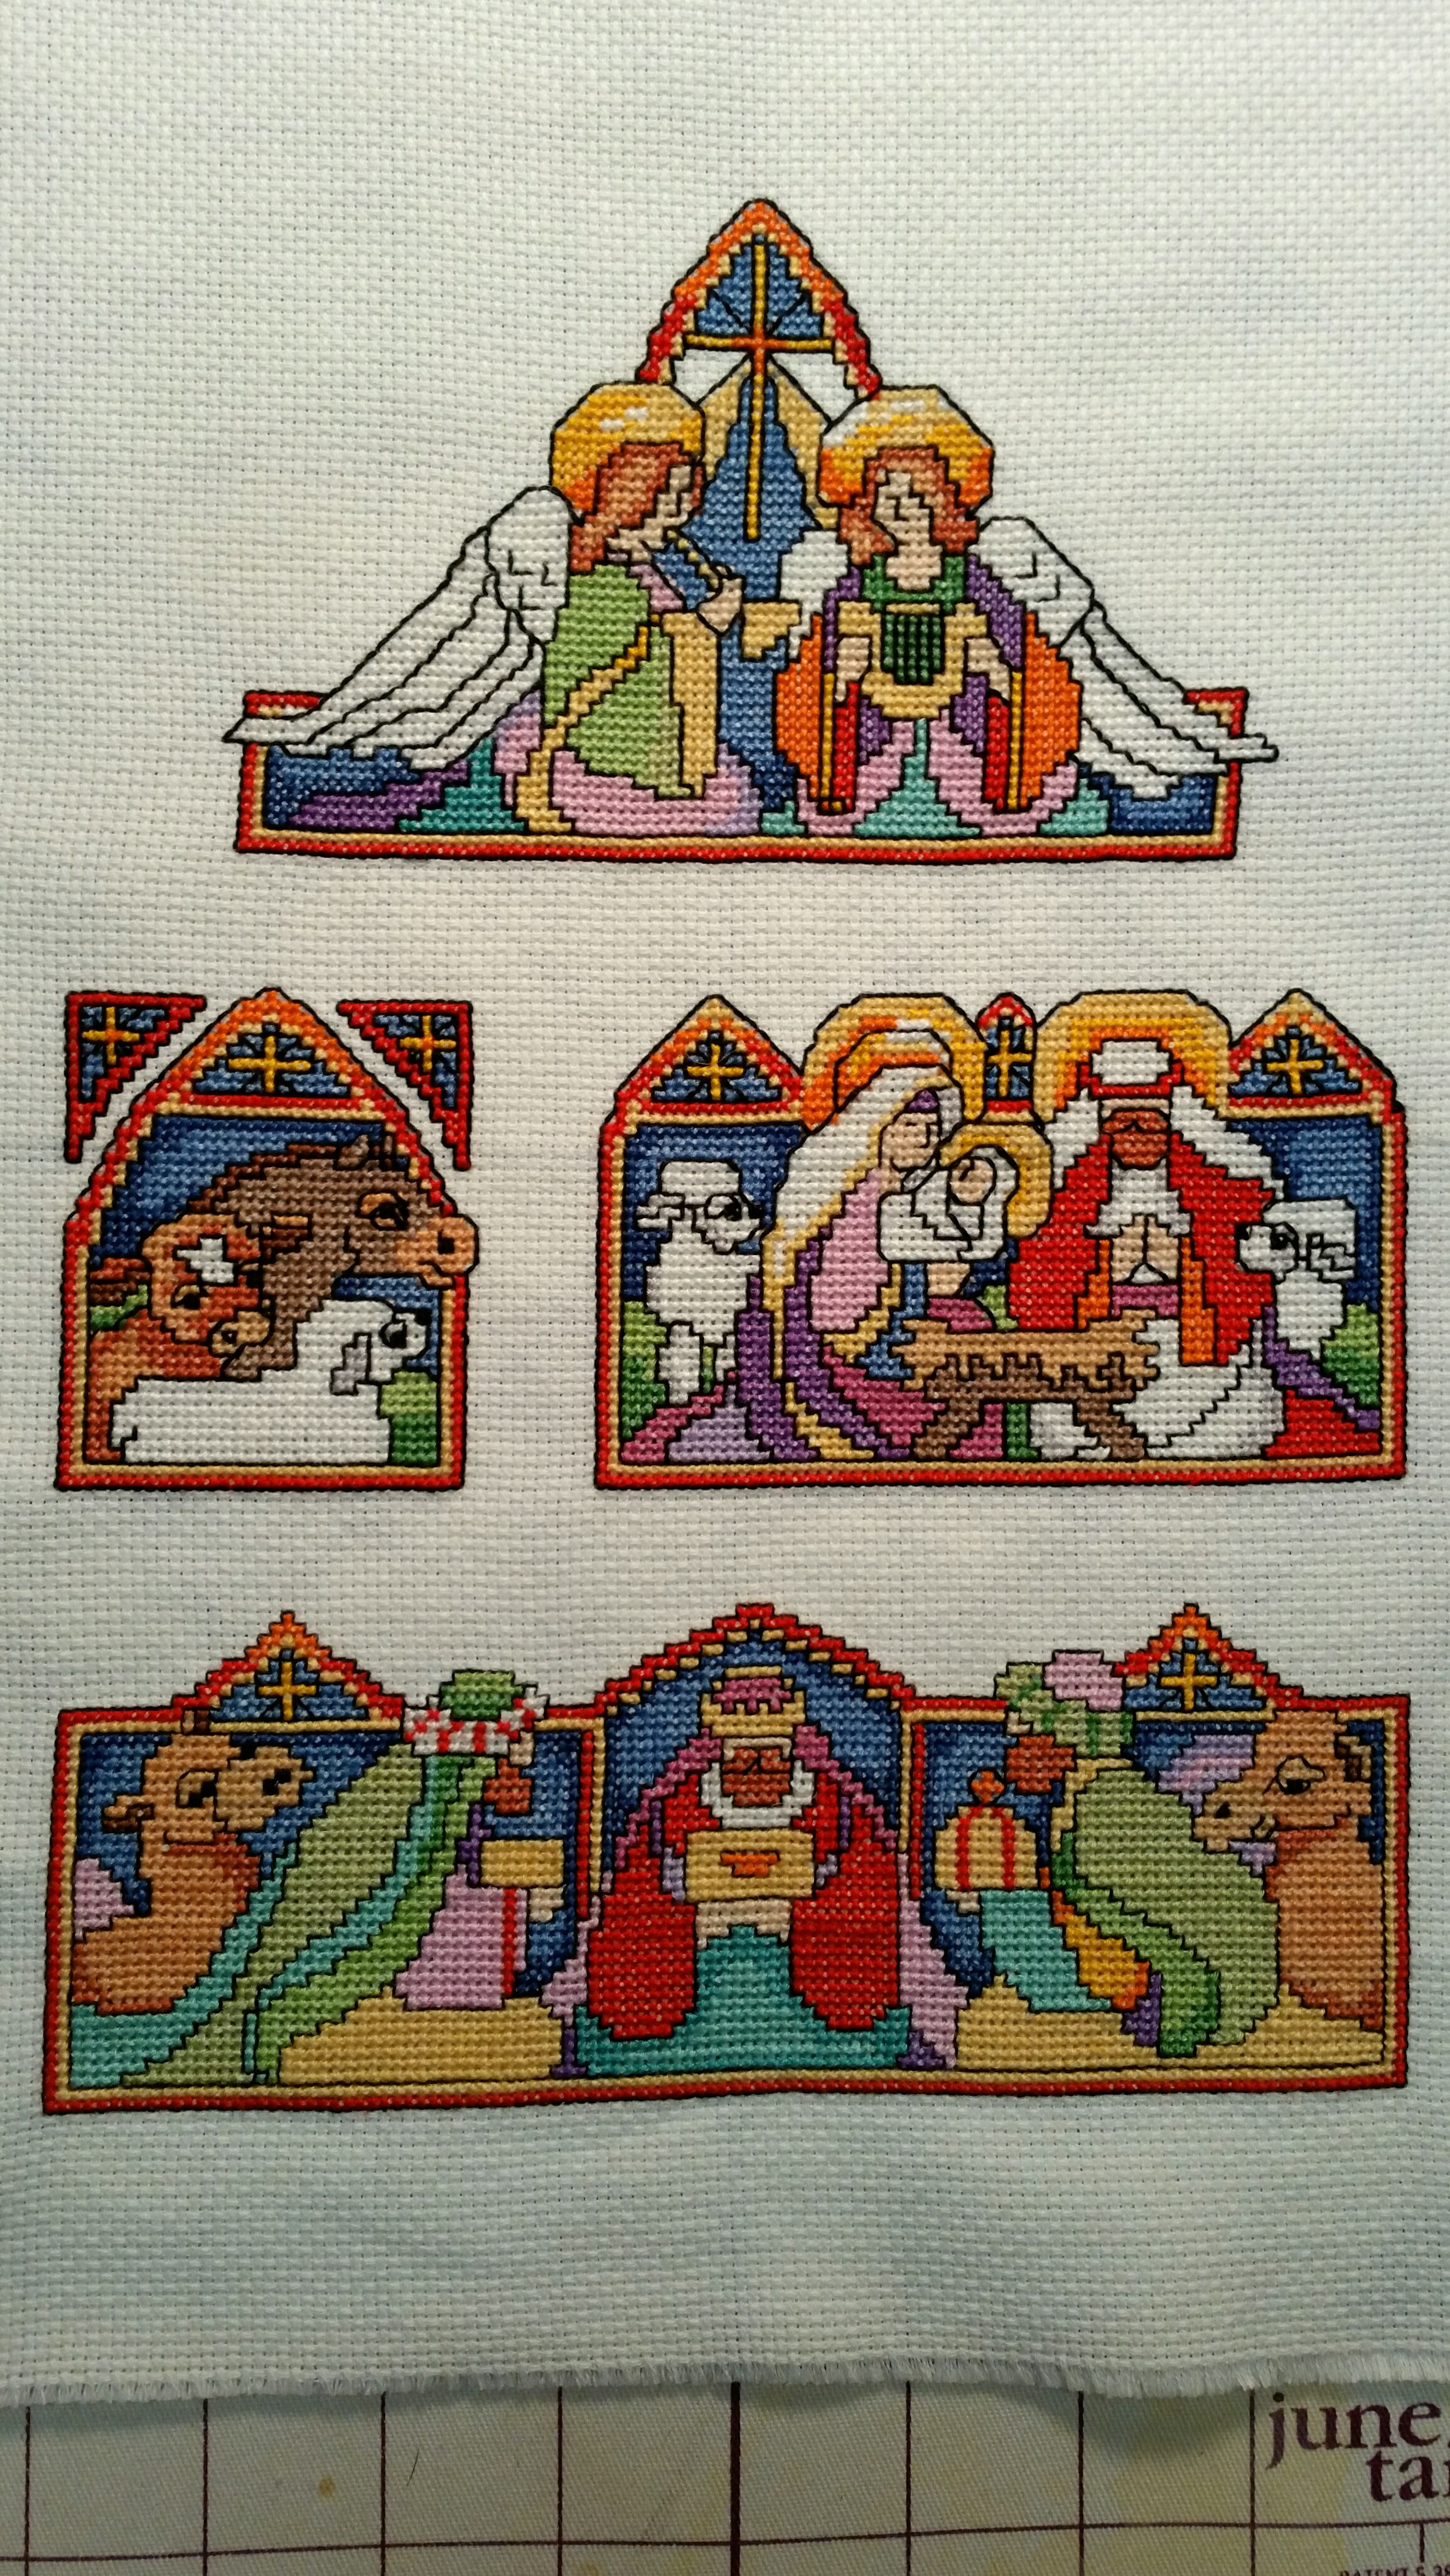
Back in the 90s. I was addicted to counted cross stitch and completed many projects. Of course, I also have many unfinished projects too. The Nativity cross stitch was one of those unfinished projects. A few weeks ago, I came across the frame for that Nativity cross stitch in a box of craft stuff in the garage. I brought it into my sewing room and then started looking through plastic storage boxes of cross stitch supplies. I had lost the chart and had no clue how to finish this, but since I keep stuff (hoard is such a nasty word), I had the 1995 Bucilla holiday catalog. which has this Nativity picture. Using my magnifying lamp, I could see the stitching clearly enough to finish it.
Now, lest you think I am keeping old Bucilla catalogs for no reason, here’s the reason I’ve kept them. My sister used to buy a lot of needlework from the outlet store at the Bucilla company, when it was in Hazleton, PA. She gave me a bag of stamped embroidery table runners, napkins and dresser scarves, but they have no directions. Some of the designs are easy to figure out, but bouquets of flowers are difficult without a picture. So, I kept the catalogs, because there are pictures of these stamped embroidery projects.
A couple of years ago, I started dabbling at doing a few small counted cross stitch projects and then I started doing plastic canvas needlepoint again too.
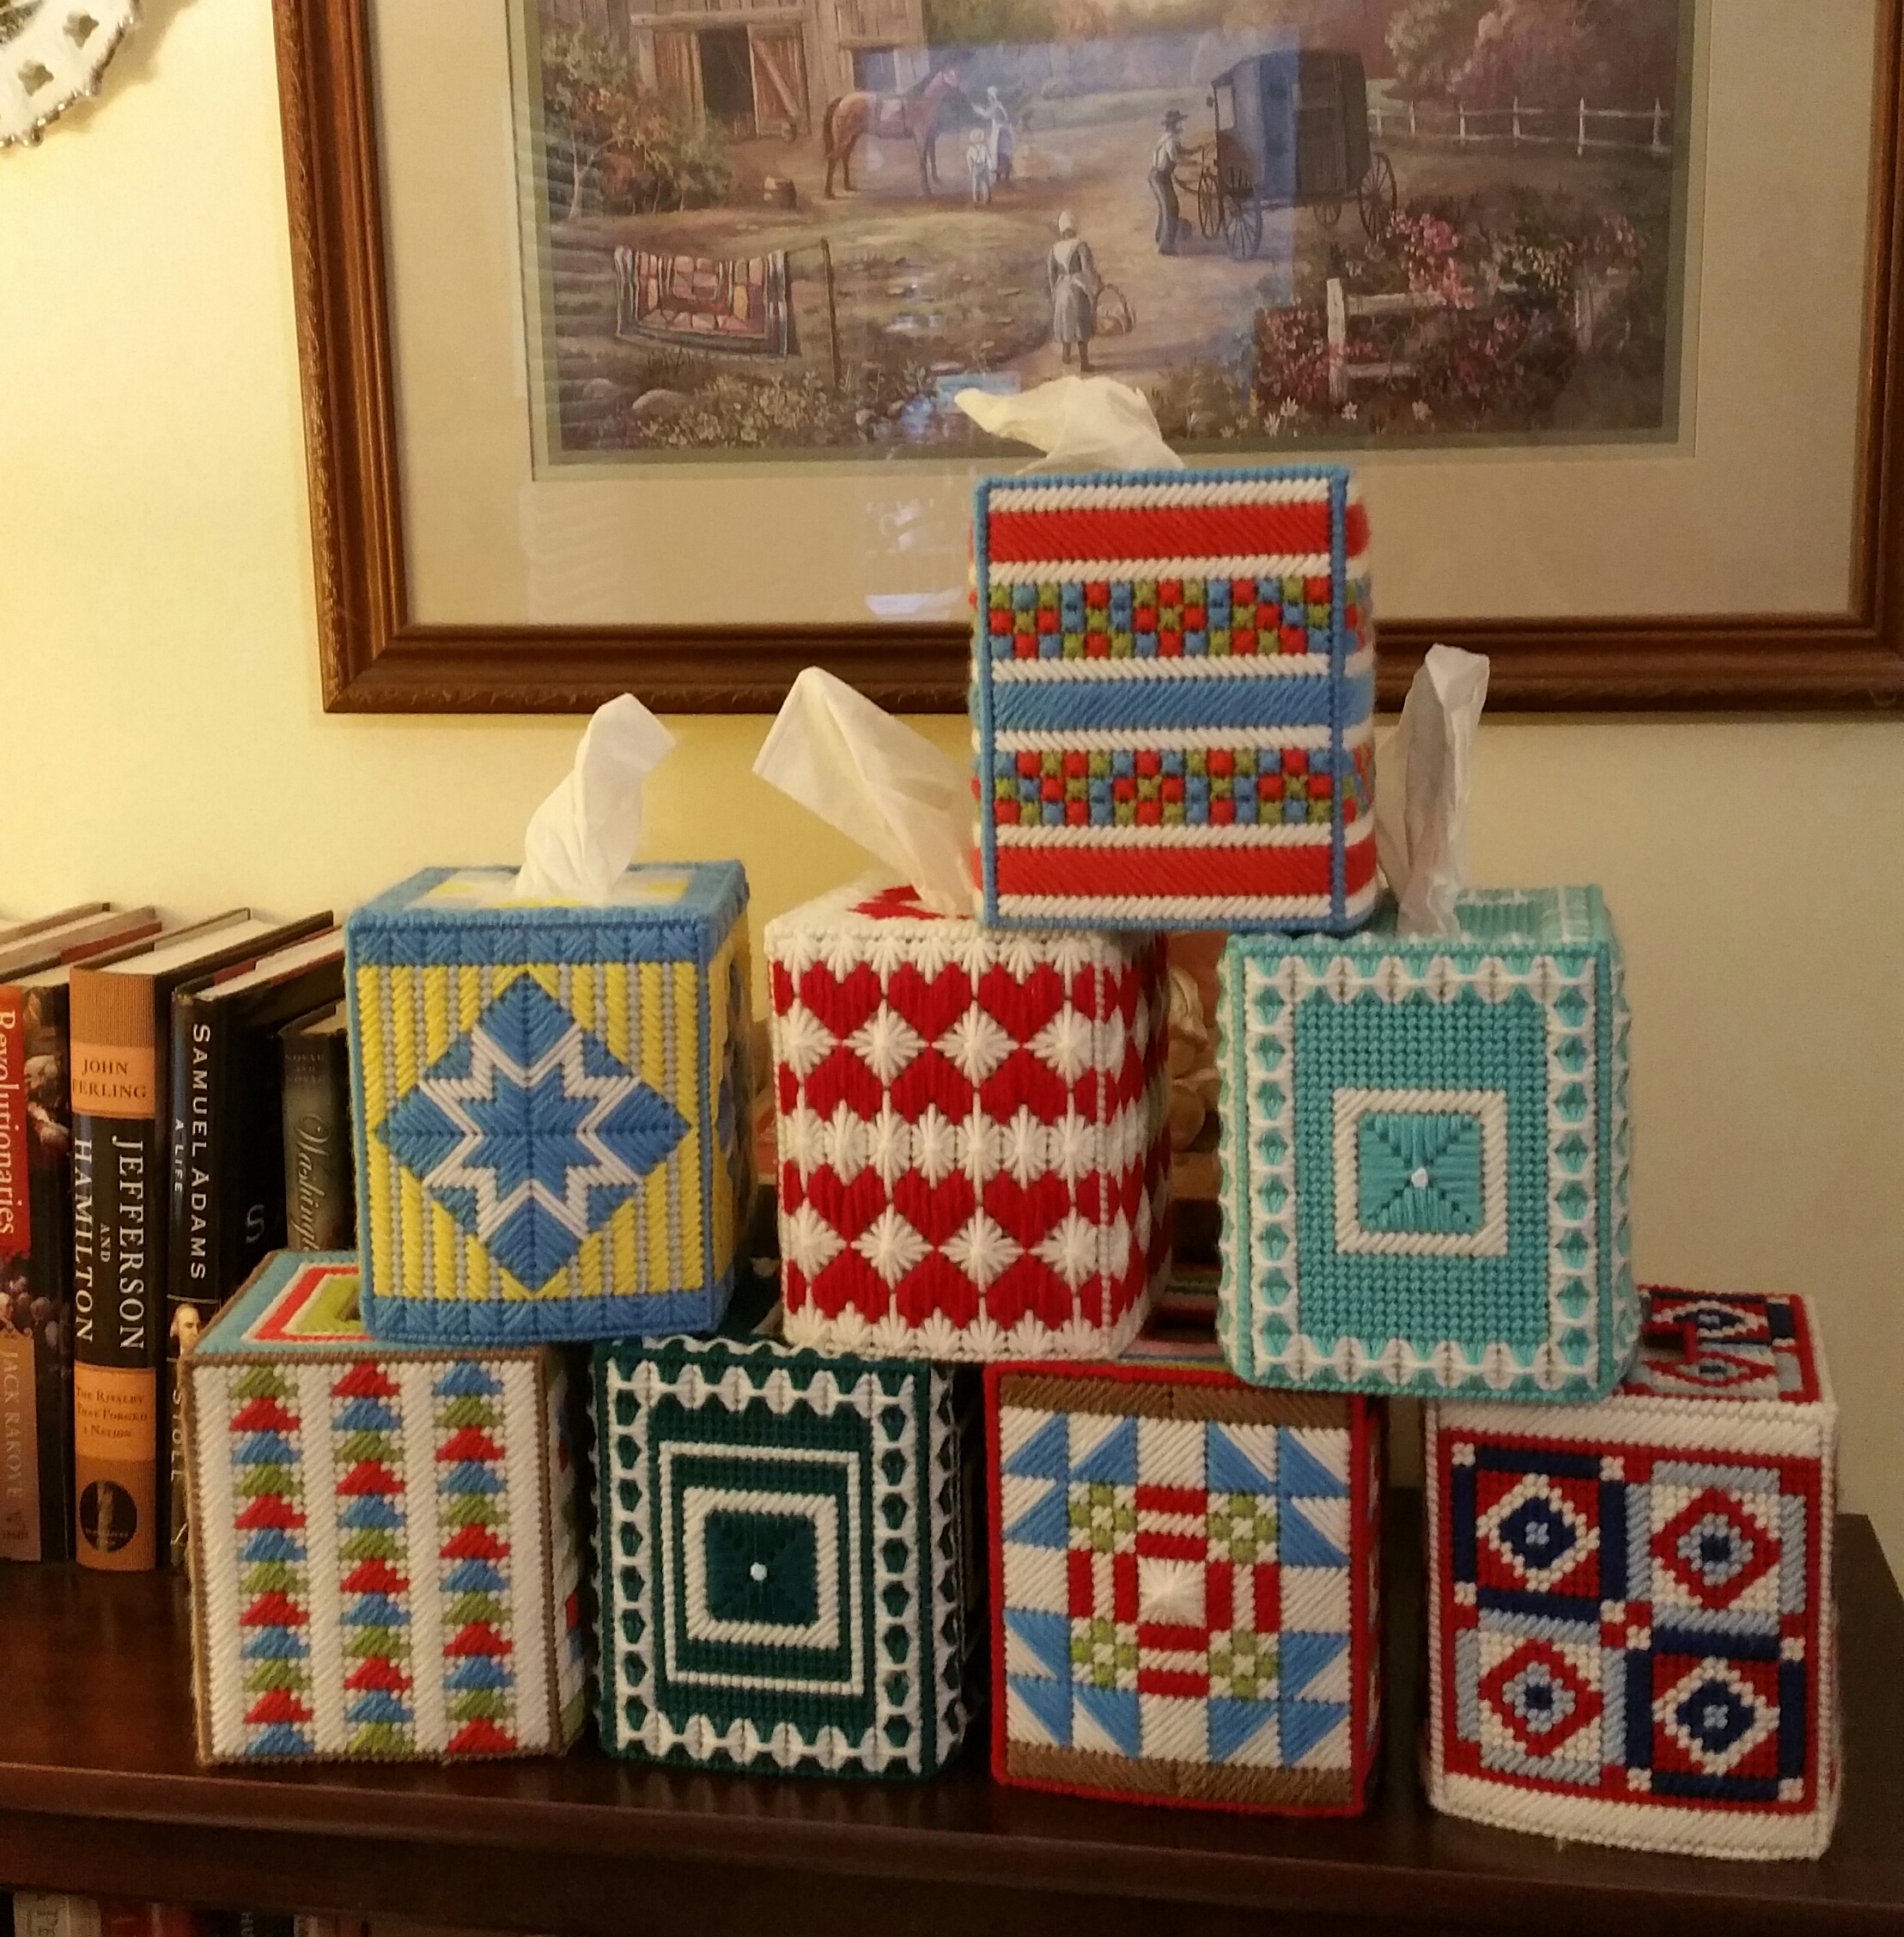
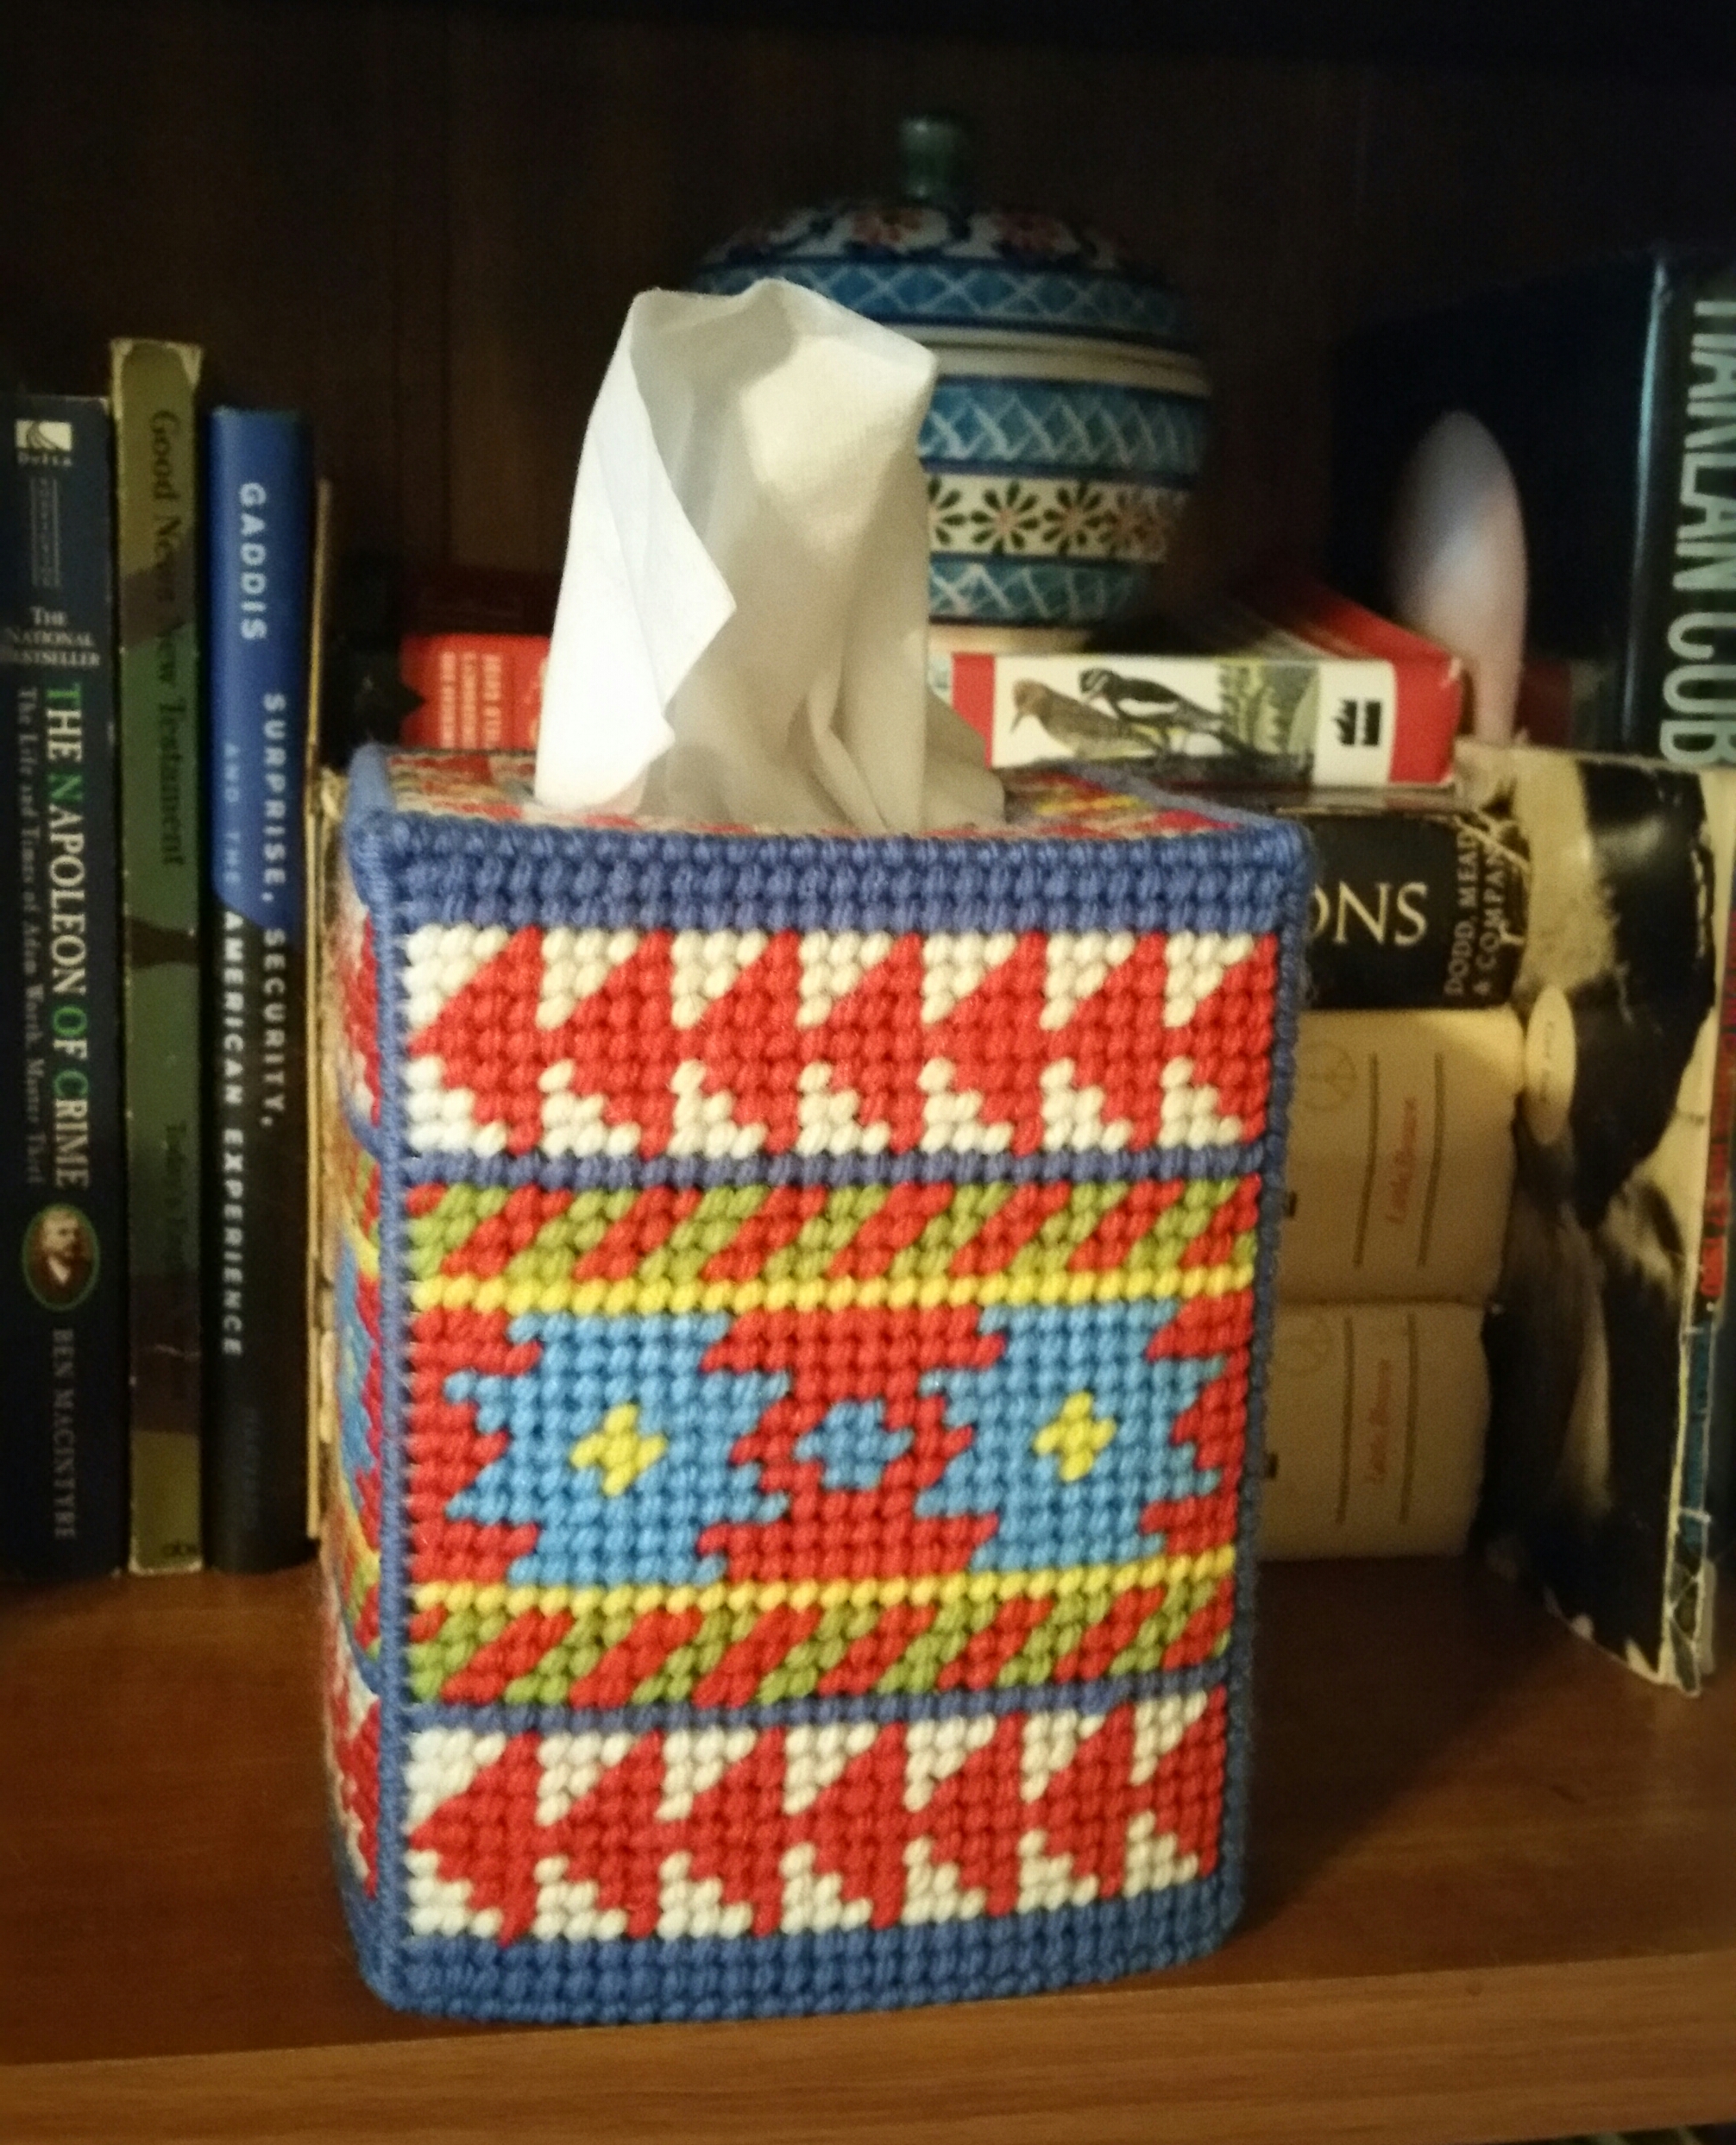
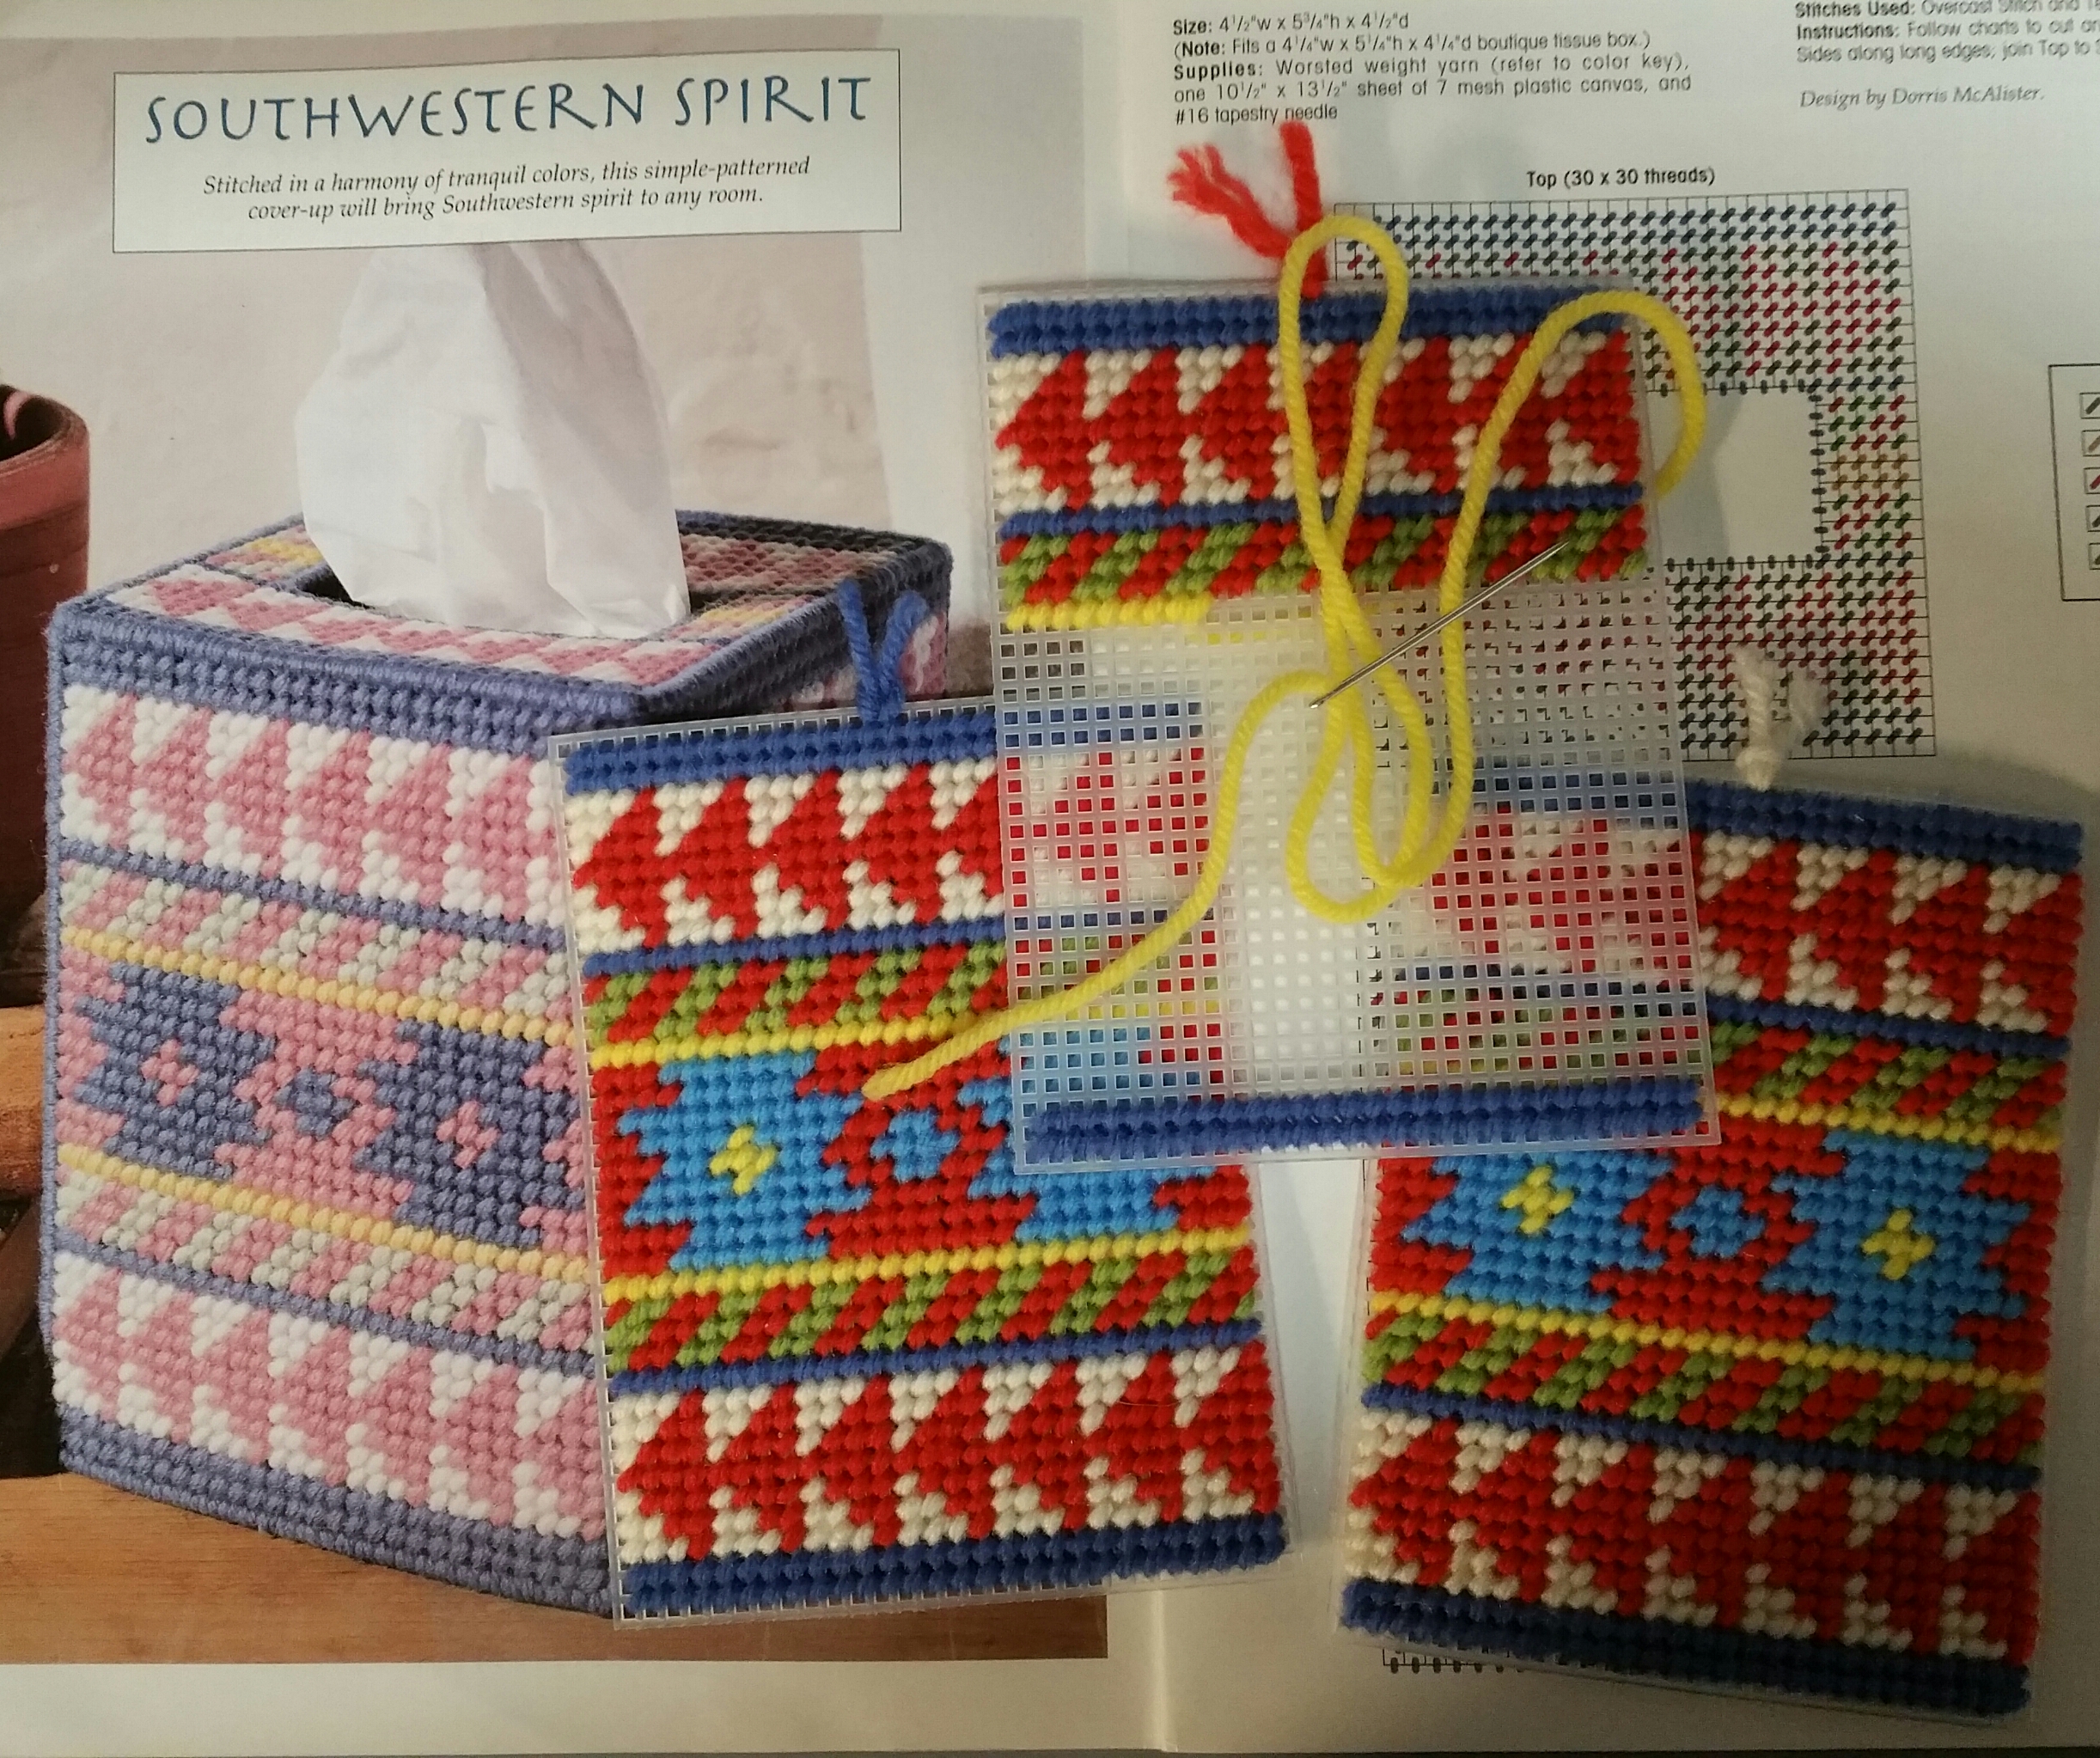
Here are 8 more boutique size tissue box covers, I stitched in the past couple months:
It feels good to be stitching again and having the internet opened up an entire new world for any type of needlework. It’s so easy to find information and supplies now. That will be another blog post.
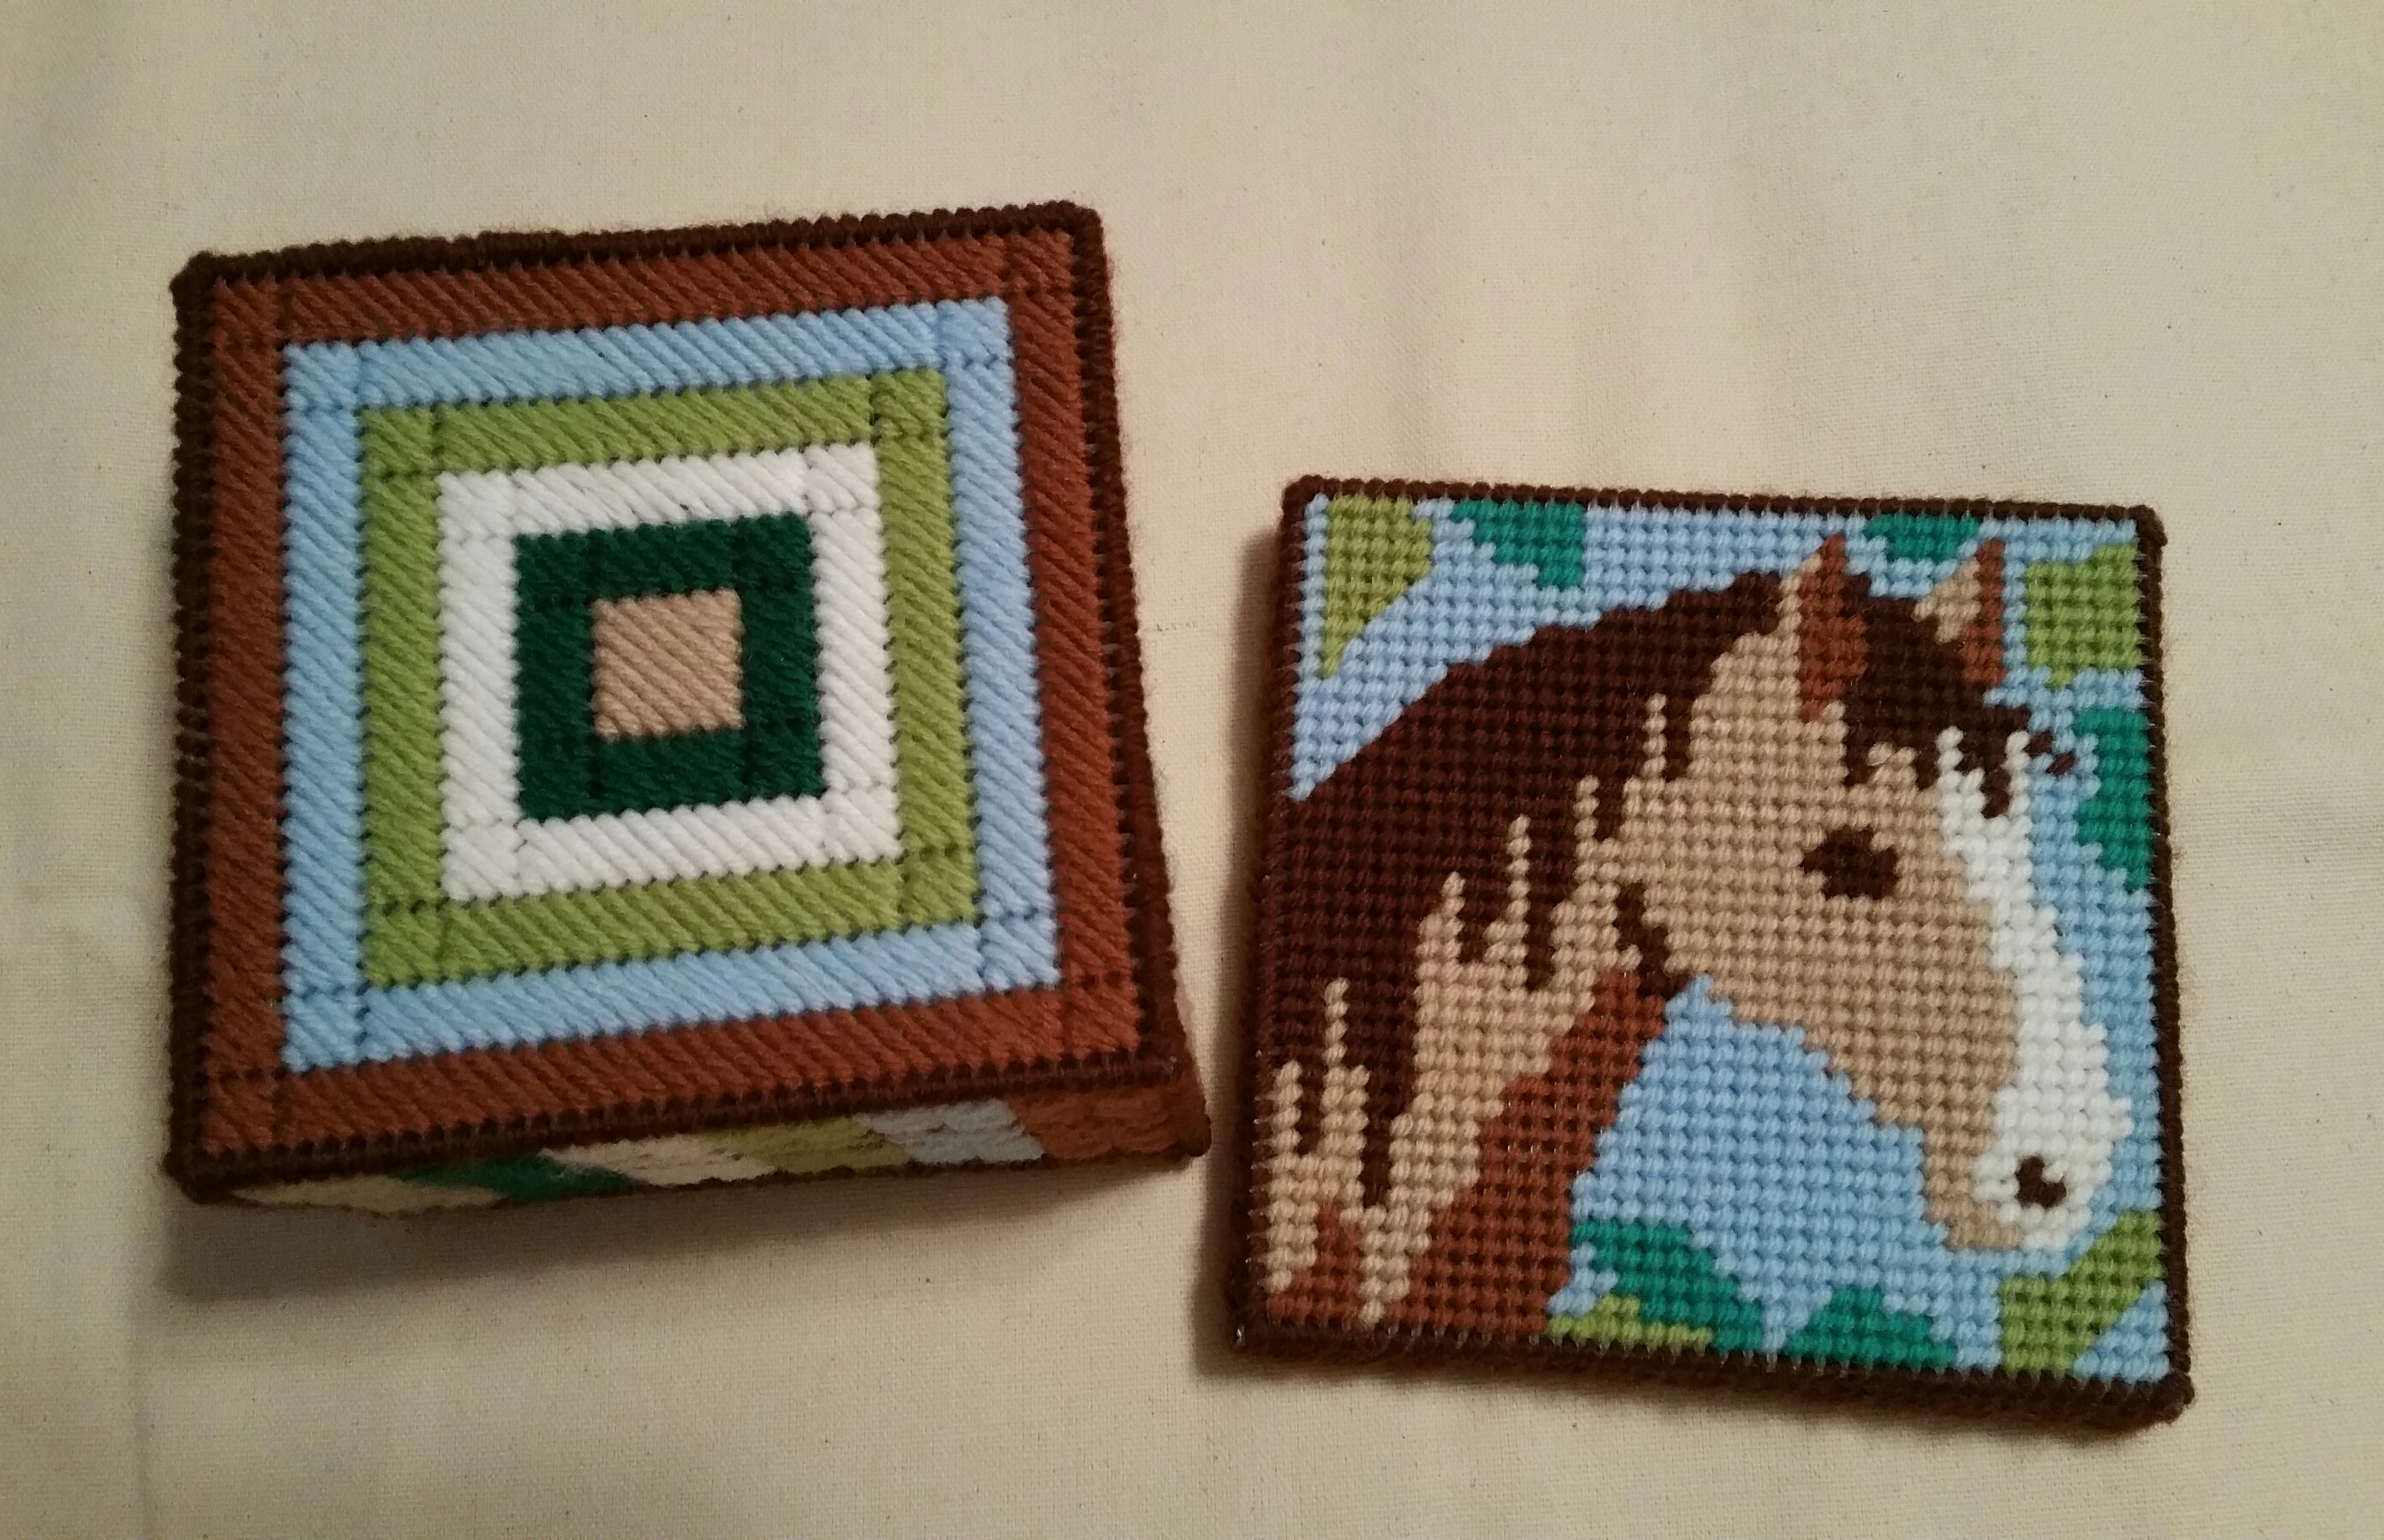
Three more plastic canvas tissue box covers finished.
The quilt block patterns are from a Leisure Arts leaflet from the 1990s. These patterns are very easy and very quick to stitch.
I made this Southwest design one for my friend in AZ. She’s not into pink, so I opted for bolder colors. The pattern is from Our Best Easy Tissue Boxes in Plastic Canvas, also from Leisure Arts.
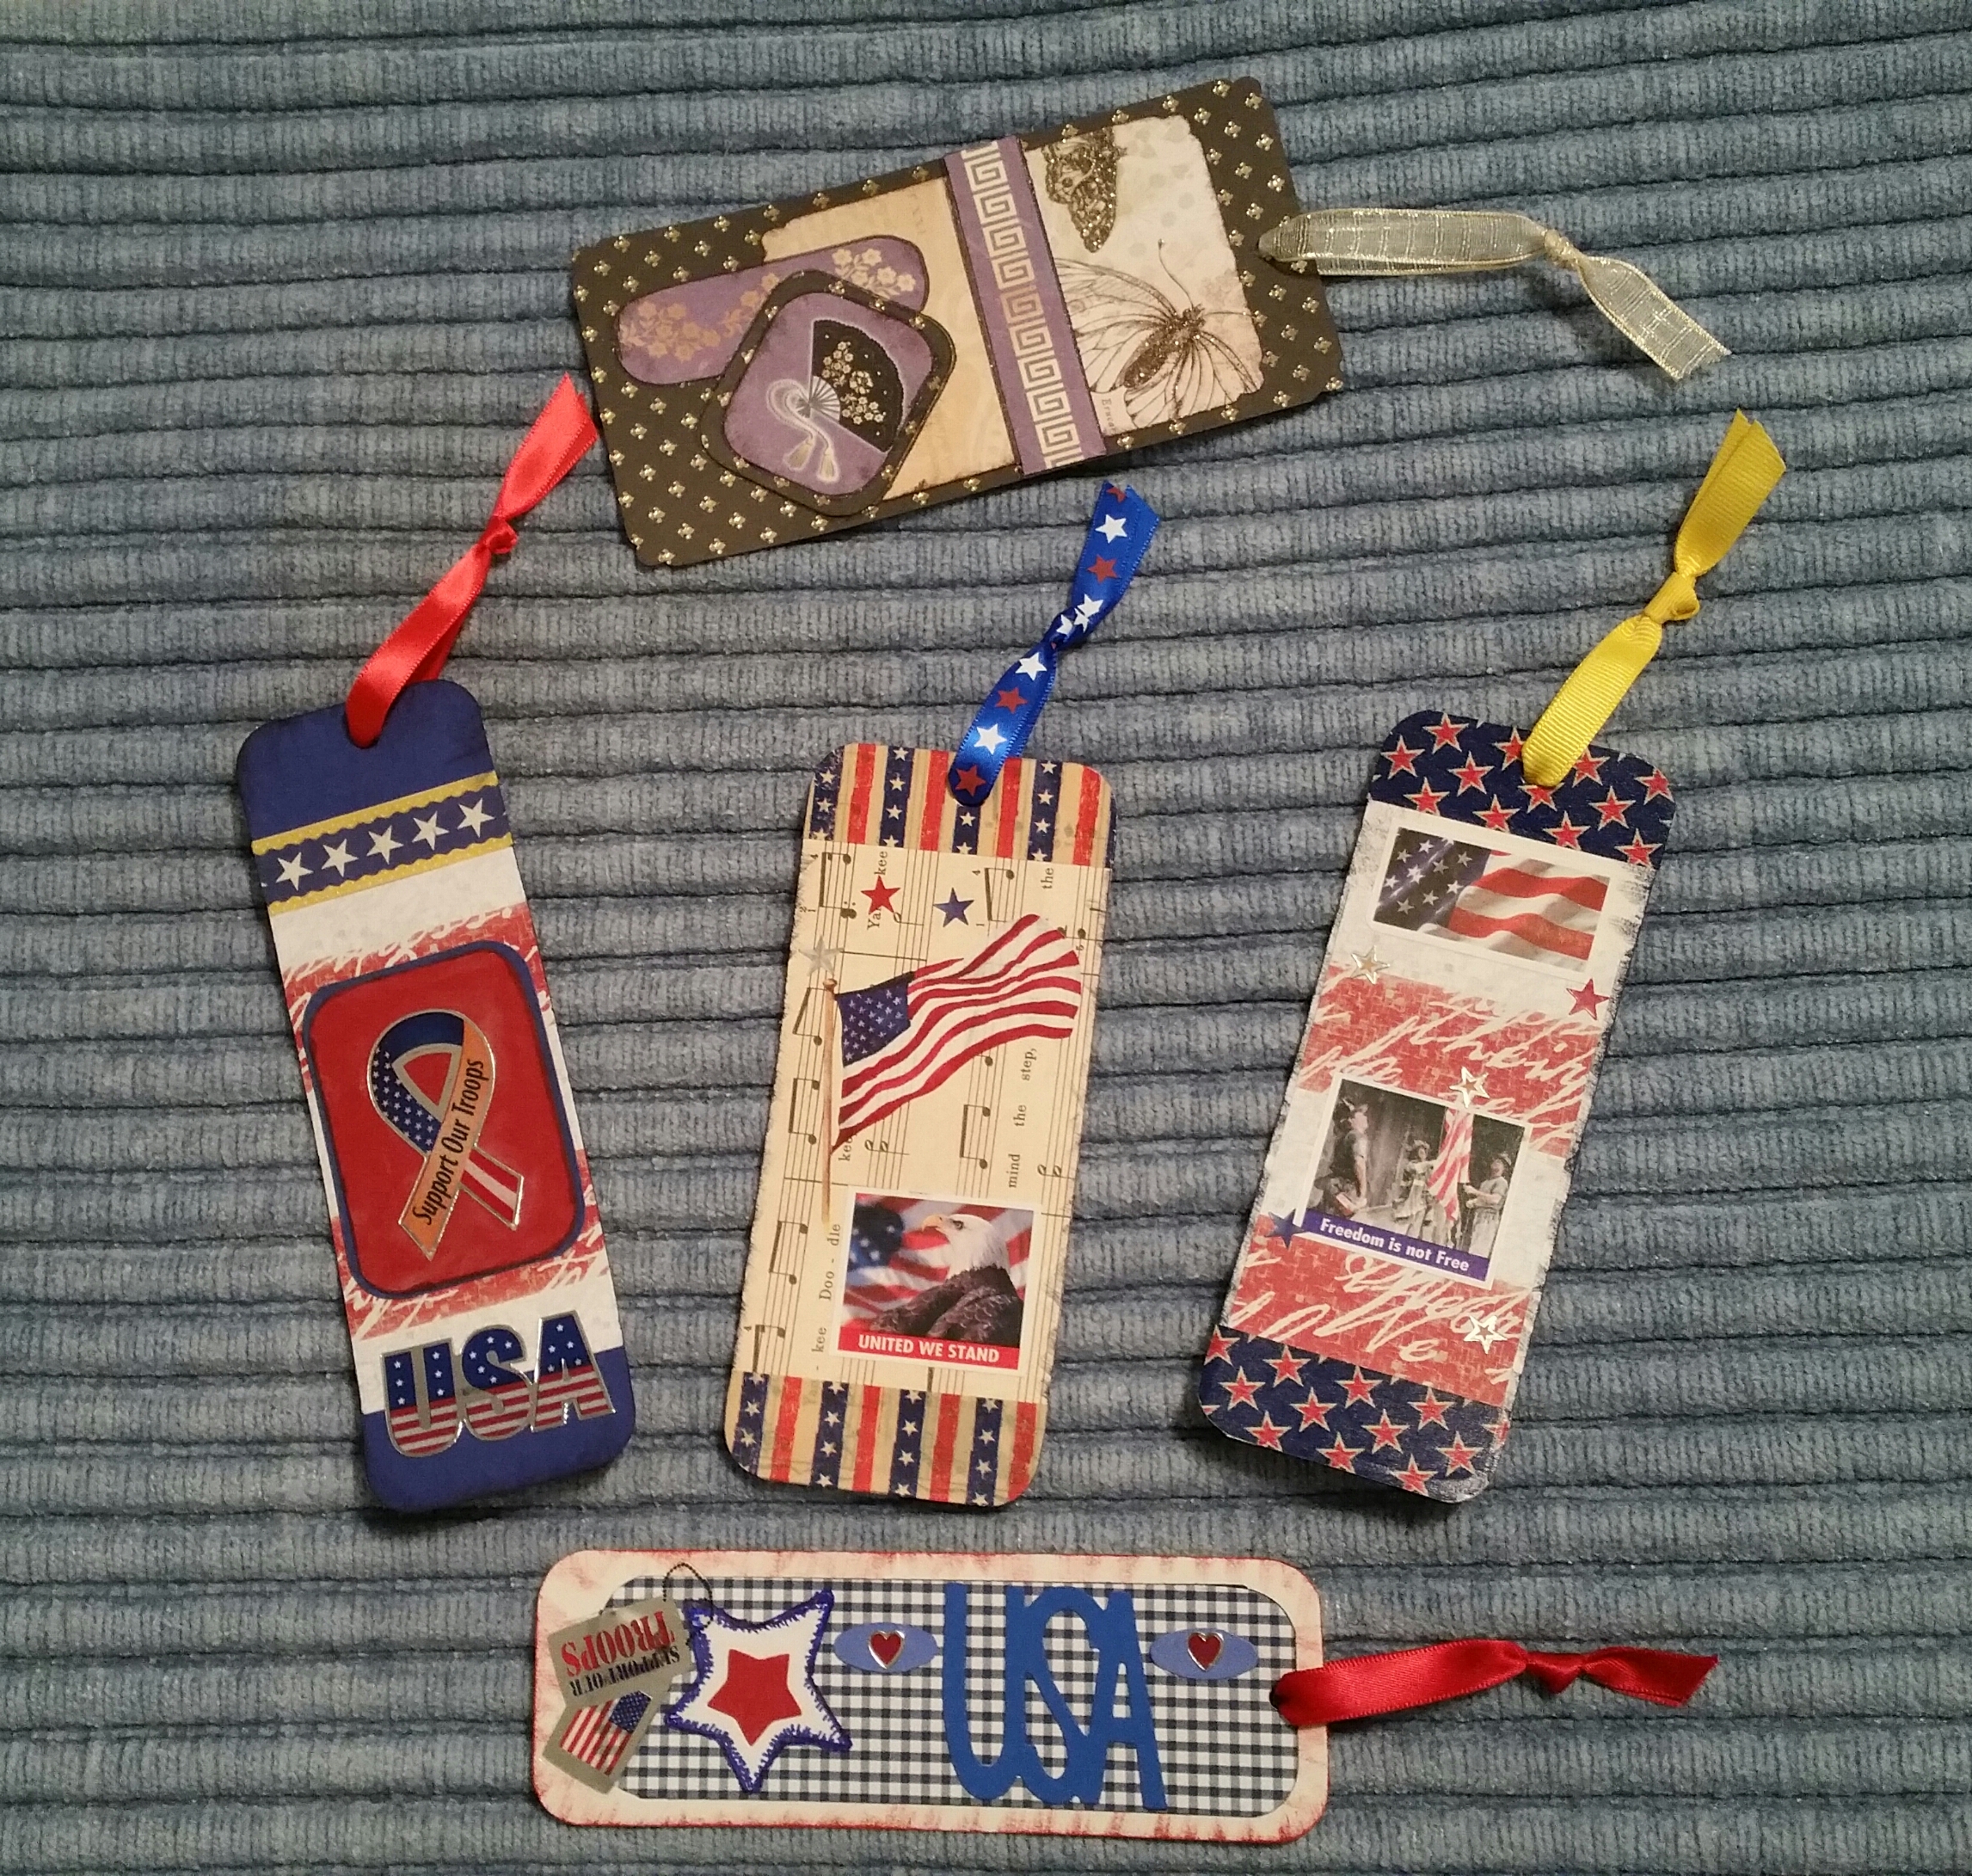
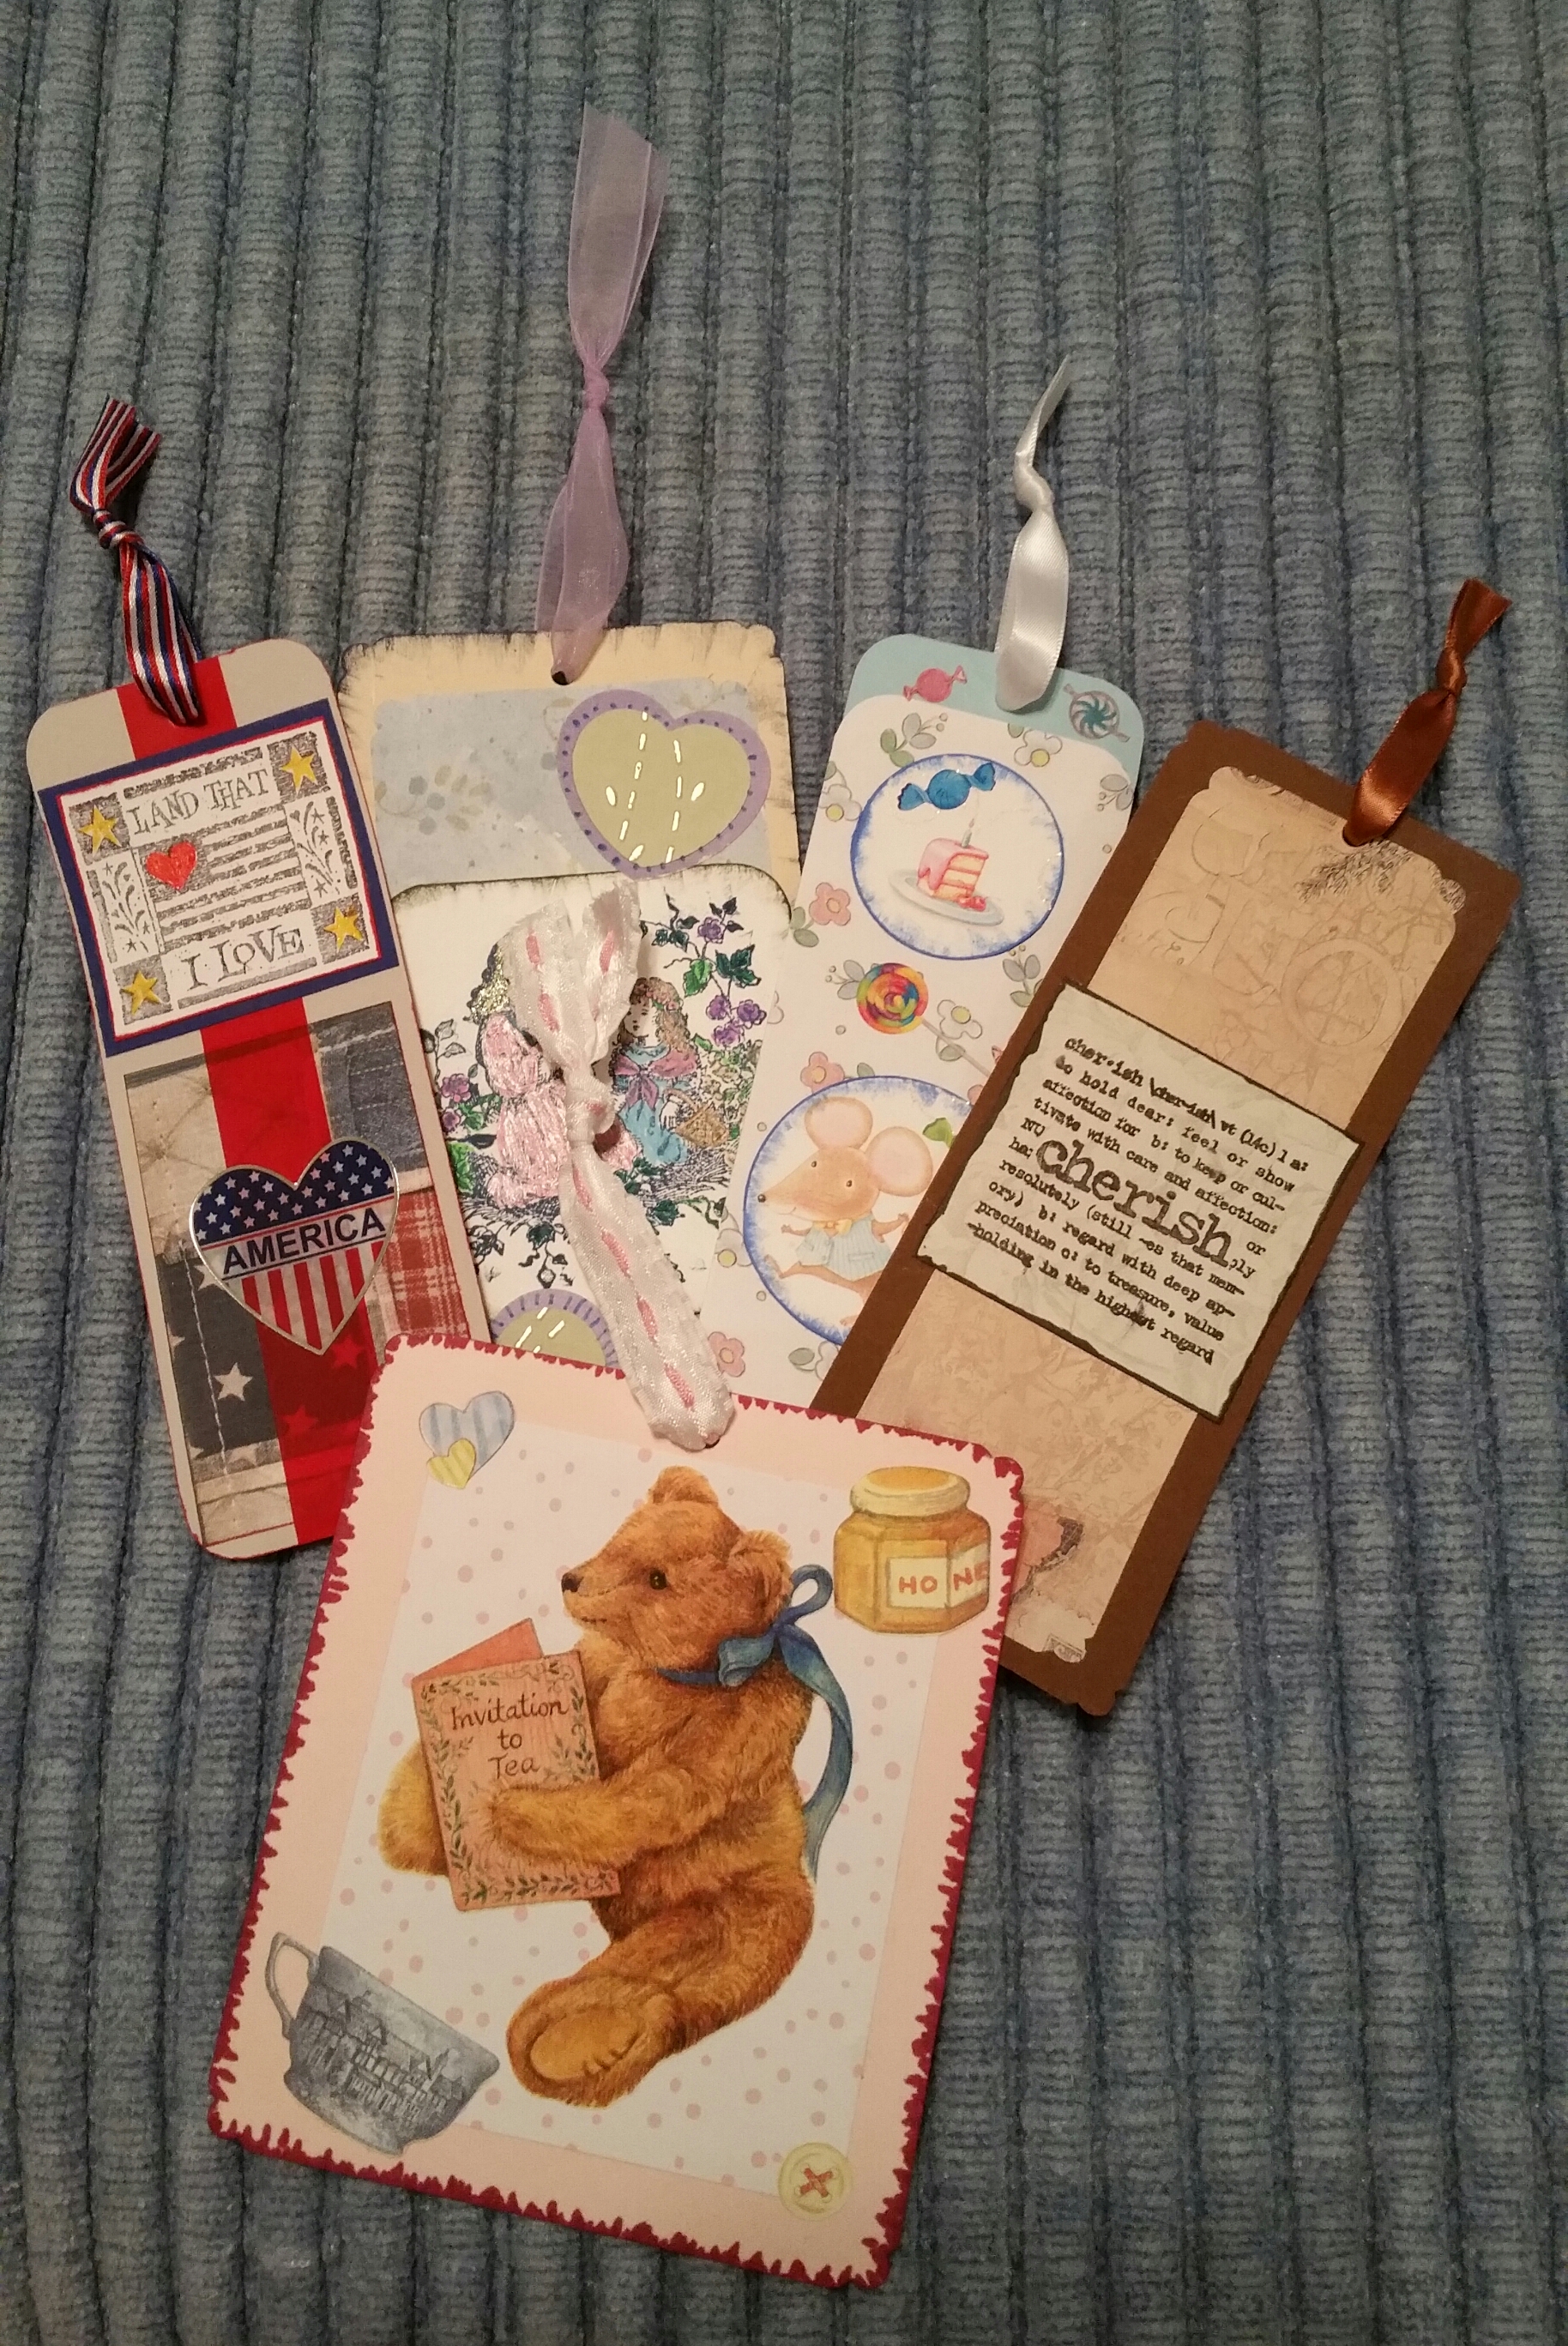
Here’s a cheap little project for girls, who often like frills and ribbons, diaries and notebooks.. I saw some variation of this in a magazine years ago. I made two of these for my 10 year-old granddaughters in a half hour yesterday.
I took a small $1 spiral-bound notebook from the dollar store and tied little pieces of ribbon along the spiral binding This can be done in all one color ribbon or a few coordinating colored ribbons, but since I have tons of ribbon, I used a different ribbon on each spiral. As a put-together craft kit gift, you could give the notebook, some ribbon and pens for the girl to do herself.
Tip: I worked at Wal-Mart many years and their holiday stuff is much of the same junk, just different colors and printing on it for each holiday. That includes the $1 ribbon. Wal-mart after-holiday sales are 50% off first and then 75% off. In my store, that ribbon was often still around for the 75% markdown and that’s a great time to stock up on ribbon. The spools contain 3 yards of ribbon, so 25 cents for 3 yds. Those $1 ribbon boxes always contain some solid colored spools of ribbon, not just holiday prints.
A very simple pattern for a plastic canvas needlepoint tissue box cover.
A tip when working on any needlework project, learned through getting lost on my project, is to mark the top before you start stitching.
Counted cross stitch patterns start in the center, but often before you have stitched enough to clearly see the design, it’s easy to get lost and not be able to tell top from bottom. If you use an embroidery hoop (here’s another tip), do NOT leave your work in the hoop for days on end. That bad practice, which I admit I have done sometimes, can leave crease marks that are difficult to iron out, even with several washings and pressings. It can also lead to dirt marks around the edge.
Here are a few more tips – always wash your hands before stitching. Keep your work protected in a ziploc bag when not working on it. Develop a habit of clipping loose floss or yarn on the back of your work, as you stitch. Keeping the back of your work tidy leads to a nicer finished work. Tangles and knots on the back can cause unsightly lumps on the front, especially when framing counted cross stitch.
When doing counted cross stitch, I use a piece of red embroidery floss and stitch a large X at the top center of the counted cross stitch fabric. A small safety pin at the top center on Aida cloth works too. When stitching plastic canvas projects, I loosely tie a small piece of yarn on the top of each piece. I remove the floss when I am completed stitching the counted cross stitch piece. With plastic canvas projects that are several pieces, I leave the little yarn “top” markers in until I am ready to assemble those pieces.